What is the most practical and attractive finishing material in the bathroom? Of course, now there are many options on the construction market, but ceramic tiles are still in great demand. Therefore, many are interested in the question of how to tile the bathtub with their own hands. Next, we will consider detailed instructions on how to lay out a bathtub with tiles in photos and videos.
Tile laying options
But first, let's look at what popular ways exist on how to put tiles on the bathroom, since many subsequent processes depend on this issue.
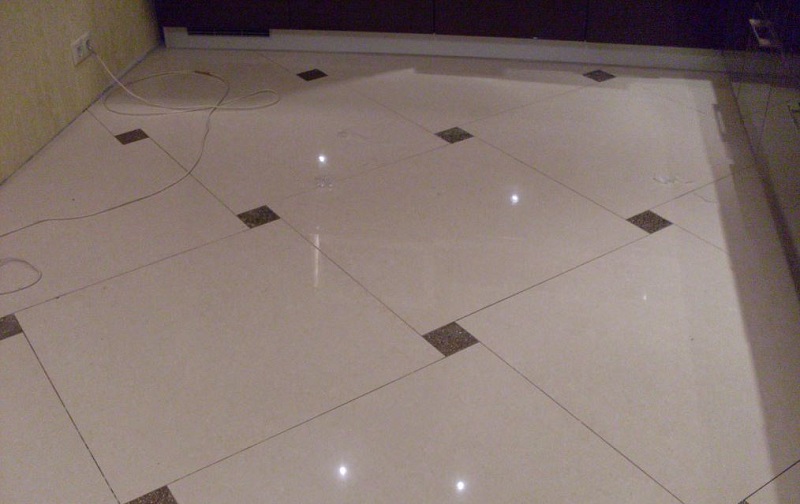
- Standard. In this case, the seams between the tiles form straight lines. If the tile is selected square, then the laying result resembles a checkered notebook in appearance. This option is distinguished by its simplicity of work, a minimum amount of waste, and the result is presentable.
- Diagonally. Many, thinking about how to lay tiles in the bathroom, decide to do it outside the box. And the "diagonal" method is just right for these purposes. Unlike the previous method, in this case the tile is rotated by 45 degrees, that is, its edges are not strictly parallel to the horizon and vertical. The installation option is very good, but it has two significant drawbacks: a more complicated installation process and an increased material consumption.
- In a runaway. This method allows you to get a result reminiscent of brickwork, when the next row is laid with an offset relative to the previous one by half the width of the material. This method is good in its own way, it can be very relevant.
We have given three main ways of laying tiles in the bathroom, there are others, however, these are the most common and accessible from the point of view of independent actions. Sometimes it is important to use a combined option: use several styling methods at once, getting an original drawing.
Calculation of consumables
In many ways, the choice of installation option affects the required number of tiles. This will have to be taken into account if the project budget is limited. Let's consider how to correctly calculate the amount of required materials:
- Tile. Usually the calculation is done in square meters. To do this, you need to determine the area of the surfaces that will be covered with tiles. For example, the height should be multiplied by the width of the wall. You need to do the same with the dimensions of one product. Then we divide one value by another. We get the required amount. However, another approach is more accurate. To do this, you need to depict schematically on a sheet of paper how the tile will be placed, and then count the number. Consideration should be given to the location of the products so that the seams are respected even when finishing around the bathtub.
Important: the tiles must be purchased in one batch. Otherwise, you can get different shades. This is due to the peculiarities of the color rendering of the equipment.
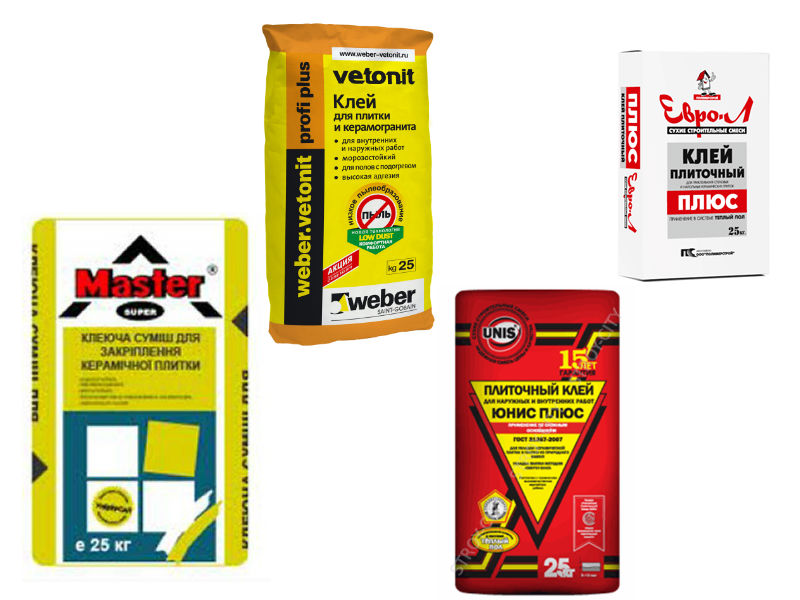
- Tile adhesive. Note that you can also use a standard sand-cement mortar, however, the quality of the result and the higher complexity of the process force you to use a simple approach - to buy a special adhesive for tiles. In fact, this is the same mixture, however, it is carefully prepared. And to get the composition, you just need to add water. To find out how much such glue is required for our case, you need to carefully read the instructions on the package of the mixture. Consumption depends on the properties of the material and the thickness of the layer, and therefore on the evenness of the surface. Therefore, you can roughly determine the required number of bags of this composition.
- Primer. The volume is determined by the area of all surfaces. It is necessary to familiarize yourself with the consumption of the primer, which is indicated on the package. Given these data, it is possible to determine the required number of liters of the mixture.
- Grout. The consumption of this material is determined in a similar way, and therefore the required amount.
It should be noted that all consumables should be bought with a margin: at least 15% more. Let's not forget that in the work there may be an overconsumption of material, caused, for example, by a marriage when cutting tiles. And buying material in the process of work is an additional cost, a loss of time. Read how to calculate the required number of tiles in the bathroom.
Materials (edit)
What else we need, besides tiles and glue:
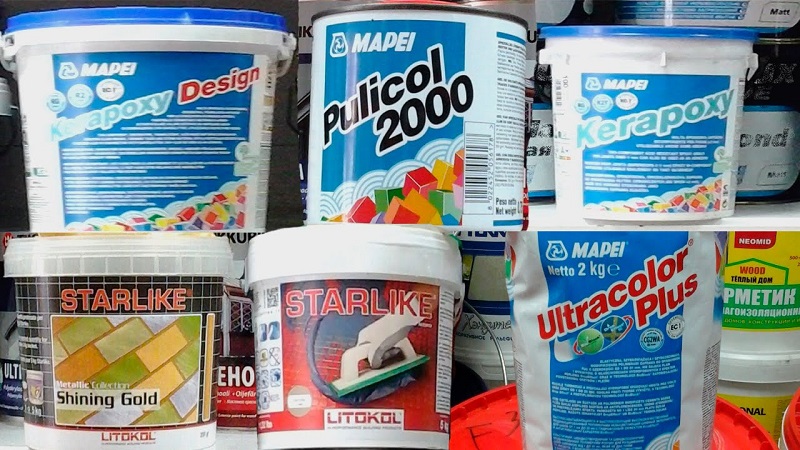
- Grout. Needed to fill the joints between tiles. It is supplied either ready-made or as a dry mix. Now you can pick up this mixture of any shade, so that it is most in harmony with the color of the tiles, as much as possible fit into the overall design.
- Plastic crosses. These elements are necessary to obtain the same joint width. The crosses are inserted between the tiles and are there until the glue sets. Then they are taken out.
- Primer. This mixture is necessary for application to the surface in order to provide better adhesion of materials. For the bathroom, it is better to choose an antiseptic composition, because in this room, due to the high level of humidity, there is a risk of developing fungus.
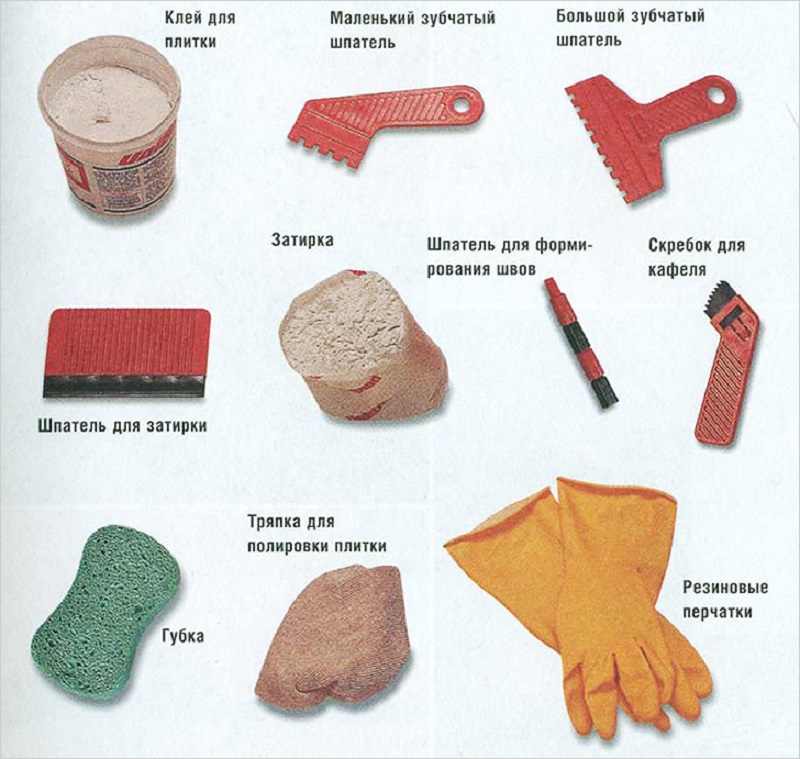
Instruments
To achieve good results, you should use the following set of tools:
- perforator with “impact hammer” function to remove obvious surface irregularities;
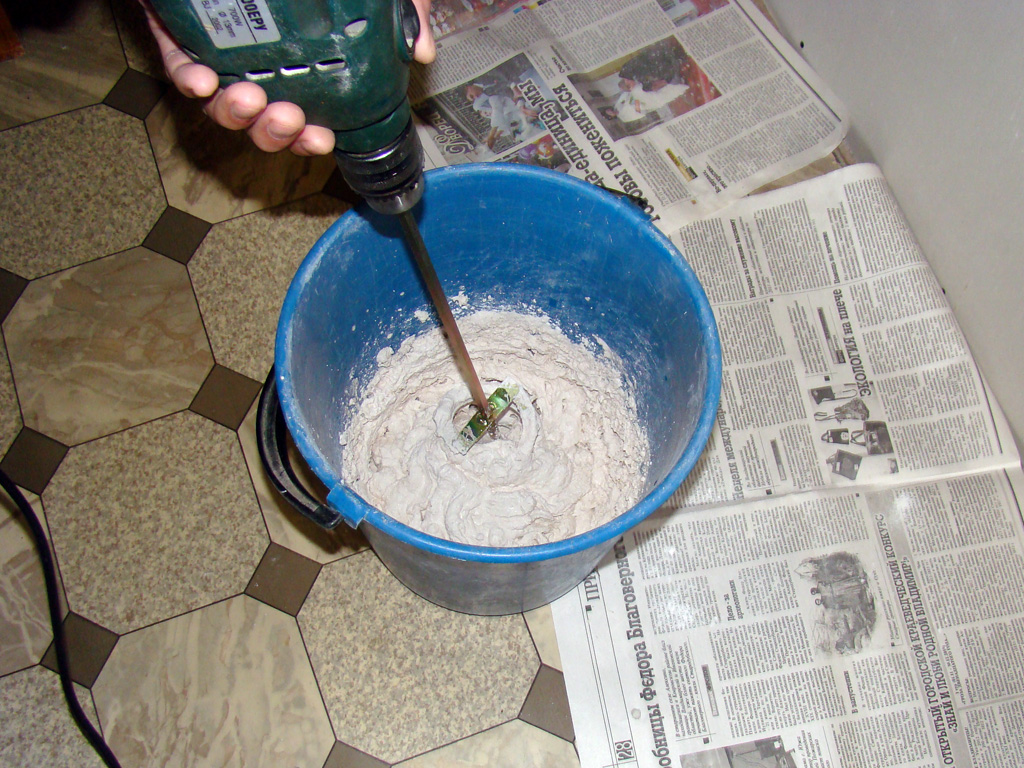
- drill with mixer attachment;
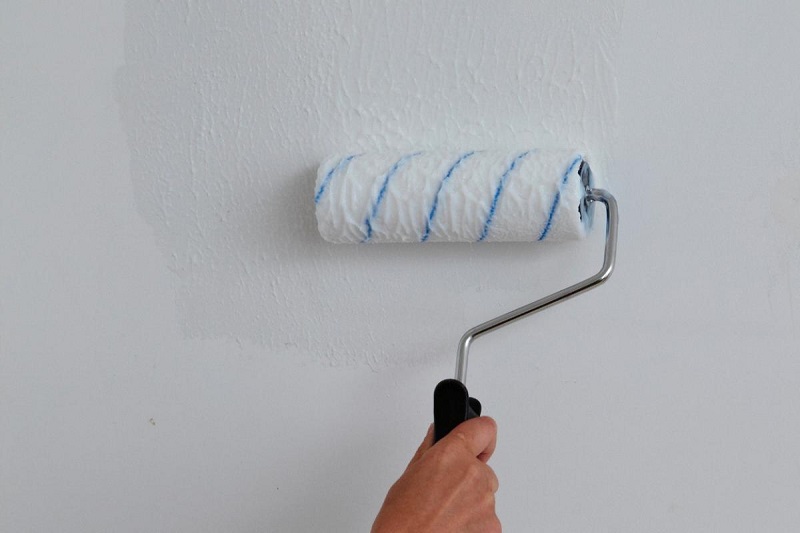
- roller for applying a primer;
- two spatulas: regular and toothed;
- rubber spatula for applying grout;
- sponge;
- container for mixing glue;
- building level and plumb line;
- tile cutter or grinder;
- pencil.
Personal protective equipment
Separately, I would like to say about personal protective equipment. You should not be dismissive of your health. Hence, it is worth using:
- gloves;
- headdress;
- wear safety glasses when cutting tiles;
- protective clothing and footwear;
- respirator when performing dusty work.

Preparation of the base
When everything is ready to go, before laying the tiles in the bathroom, you need to start preparing the base. It is necessary to ensure that the surfaces are as flat and smooth as possible. And the angles between the planes were kept at 90 degrees. The quality of the result depends on the preparation, so this stage must be taken very thoroughly. The role of surface preparation can be compared to the role of foundations in the construction of a house.
Then remove dust and dirt from the surface. After that, you need to apply a primer using a roller. As a rule, you can start finishing operations in an hour.
Preparing the glue
It is necessary to pour water into the prepared container, and then, stirring with a mixer, gradually add glue. The process continues until we get a consistency that resembles the density of thick sour cream.
You can do it differently, observing exactly the proportions indicated in the instructions. As a rule, these data are printed on the packaging of the mixture.
Getting the job done - how to glue the tiles in the bathroom
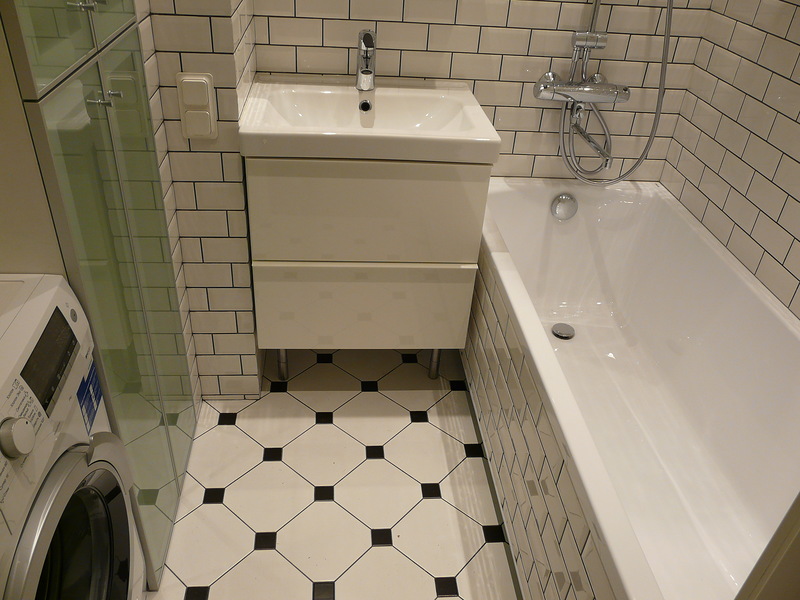
How to tile your bathroom in a standard way to make it look nice and practical? You need to act carefully and consistently. In addition, you can see how to tile the bathtub in the photo for a good example.
You need to scoop up some tile adhesive with a smooth spatula. Then transfer it to a notched trowel, pushing the solution to the edge. After that we take the tile. Spread the glue evenly over its back surface with a spatula. Furrows should remain. This approach to the distribution of the composition allows you to achieve better adhesion of the material, as well as save glue.
Then we apply the tiles to the surface in the right place. It is necessary, by tapping, to ensure that its horizontal edges comply with the level, and the vertical ones correspond to the suspension. This is the case if the tiles are laid on the wall. If the procedure takes place on the floor, then it is enough to take into account the horizontal level.
When the first tile is fixed, you can start laying the next one. The procedure is similar. You need to apply the tile almost close to the fixed one, then inserting plastic crosses between them. Usually, two crosses are used for one joint: above and below, or in the corners. 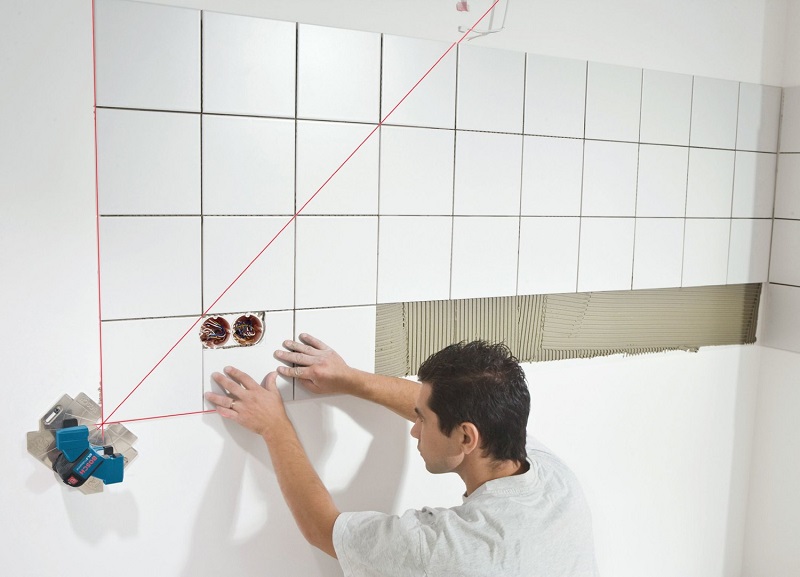
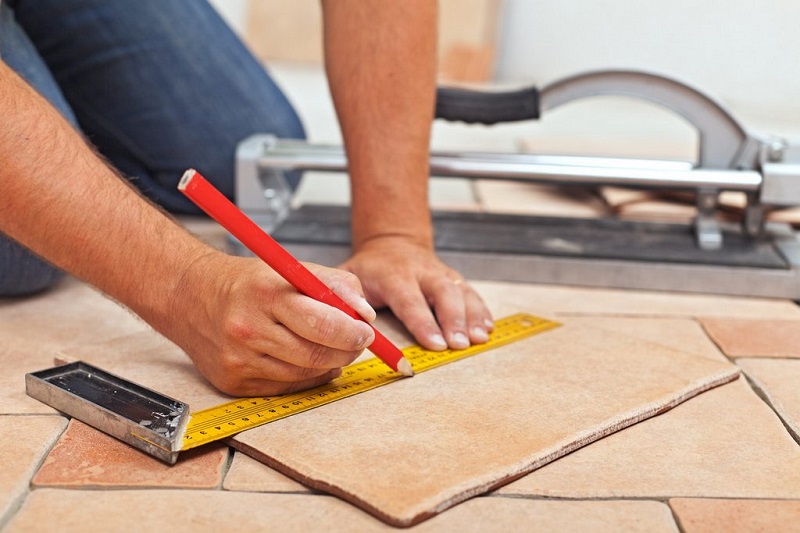
Tile cutting
Most often, you have to use pieces of tiles around the edges of the rows. For this product you need to cut it off. If you have a tile cutter, great, otherwise you can use a grinder with an appropriate attachment. It is necessary to mark the cutting line and perform the cut. Always wear protective goggles, gloves and long-sleeved clothing to avoid injury.
How to tile your bathroom floor
How to glue the tiles in the bathroom, where to start: from the walls or the floor? Even many experts argue about how to do it right. In general, finishing work is always done from top to bottom. That is, the ceiling is finished first, then the walls and floor. But in the case of tiles, everything can be changed. If you start laying from the walls, you will have to indent, leaving one row not laid out. This requires certain skills. Therefore, for beginners, it is best to start on the floor. Of course, there is a danger that the flooring could be damaged when decorating the walls. However, having chosen porcelain stoneware, even strong mechanical influences will not be afraid of it.
So, on the floor, having decided on the installation scheme, you need to start from the far corner opposite the front door. And then it is necessary to consistently lay the products until the entire floor is laid out. It will be possible to start the procedure on the walls only after the glue on the floor has completely dried, otherwise everything will have to be redone: a premature load can disrupt the horizontal plane of the formed floor.
How to glue bathroom tiles to walls
First, the first row is laid out, under which a metal profile is preliminarily fixed. Then the next rows are laid.
Sometimes a ceramic skirting board is used to cover the area around the bathtub. Now manufacturers add it to their collections. Thus, there is no need to worry about the harmony of the selected colors.
In order to understand in more detail the process of laying on the walls and floor, it is additionally recommended to watch how to tile the bathtub in the video.
Grouting
How to decorate a bathroom with tiles so that it is not only beautiful, but also functional? Care must be taken to fill the joints between the tiles. For this, a special composition is used - grout. It is applied with a plastic spatula. You need to rub the mixture into the joints. As a result, the seams should be completely filled with the compound.
After the mixture has dried, its excess can be removed with a damp sponge. It is necessary to wipe the surface so as not to disturb the evenness of the formed seams.
Video, "how to rub the seams between tiles":
Summarizing
We looked at the instructions on how to lay out a bathroom with tiles. As you can see, even a beginner can do such a procedure. Of course, the more skills, the better the result will be. Therefore, you can first practice in some utility room in order to understand the nuances in practice. Then the result will definitely please with beauty, functionality and durability.