Plastic panels are a versatile cladding material that is used everywhere in construction, both on facades and in interiors. When decorating interiors, panels are primarily in demand in wet rooms, since they are hygienic and not afraid of water. In bathrooms, they are used to decorate walls and ceilings.
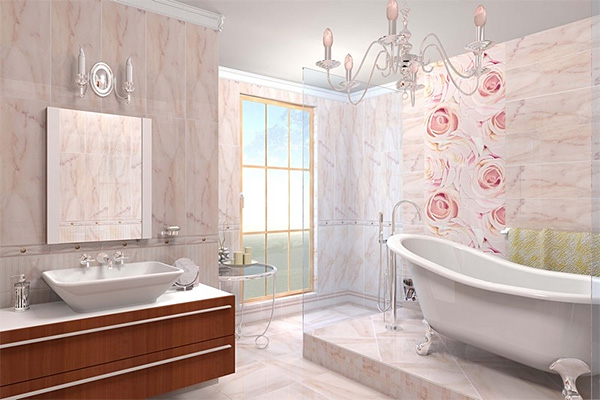
Photo: finishing the bathroom with plastic panels
Advantages and disadvantages of plastic panels
- PVC panels are cheap material. Finishing costs on average 40% less than tiling.
- Simple installation. When using the frame method, even the removal of walls is not required. Laying the tiles is technically much more difficult and takes longer.
- Removing dry-installed panels is also easy and quick.
- Good resistance to temperature changes, absolute water resistance.
- Hygiene, easy maintenance.
- Lots of design solutions.
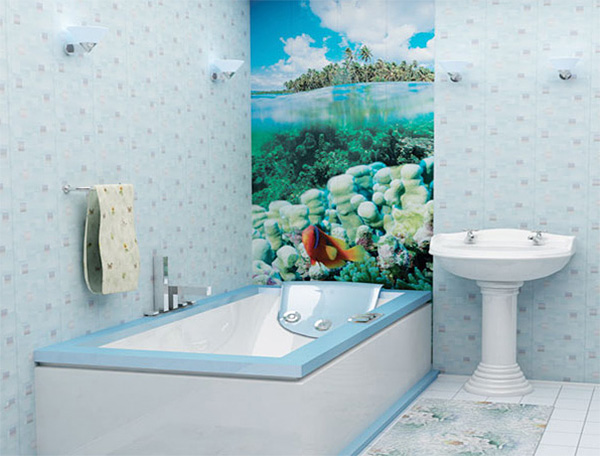
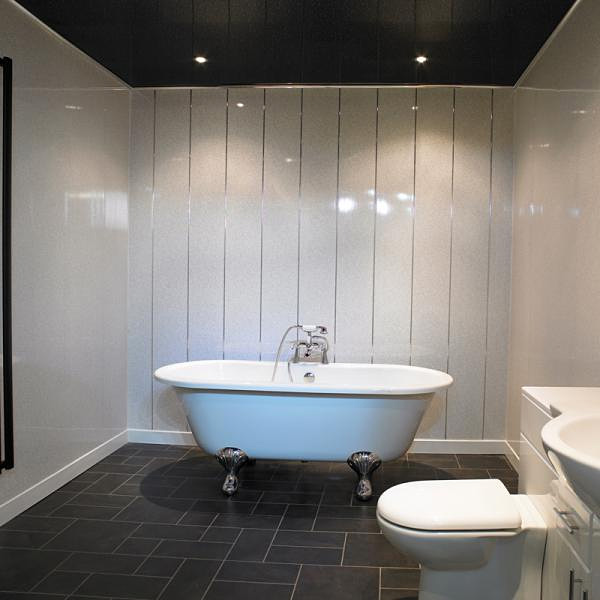
The variety of colors of plastic panels is great
- In terms of durability and strength, they lose to tiles.
- Promotes the accumulation of condensation. When using this material for cladding, you must carefully consider the ventilation system in the bathroom.
- Under normal conditions, the panels are harmless to health, but release toxic volatile components when ignited / melted. Avoid contact of the cladding with an open flame and very hot appliances.
- Insufficiently high resistance to ultraviolet light: the pattern fades under the influence of direct sun, the white surface turns yellow. But in the bathroom, there is usually no direct sun.
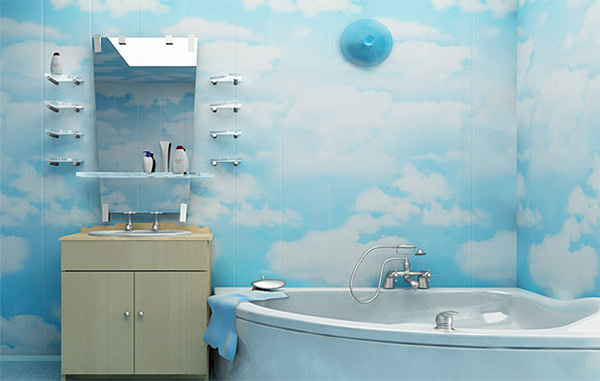
Plastic panels with a pattern "sky with clouds"
Varieties of panels
Panels are subdivided into types according to the following characteristics:
- coating - matte or glossy (varnished);
- drawing: either it is printed on the surface of the material, or a film with a finished image is glued to the panel;
- joint: seamless or seam panels. In the second case, the seam is a decorative element.
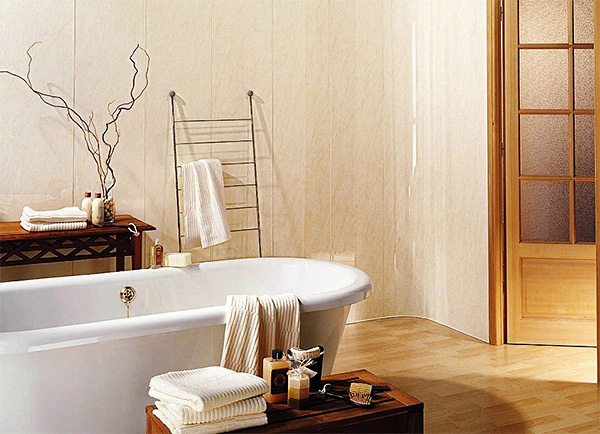
Beige panels go well with wood doors
They differ from the wall ones. Walls are stronger, tougher, weigh more. Ceiling ones are lighter, but they are inferior to wall ones in terms of strength. You should work with them very carefully.
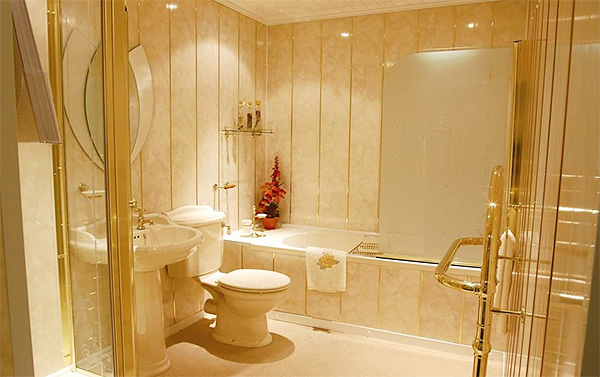
Panels with golden accents
- length - 2.7 meters, 2.6, three meters, six meters;
- width - the most common 25 cm, there are also 10, 20, 30 cm, half a meter. Less often - 33.5 and 37.5 centimeters;
- thickness - centimeter.
Pale pink color of PVC panels
Cladding can be done with the same panels or combinations of different ones: different widths, different colors and textures.
White panels on the walls and black gloss panels on the bathroom ceiling
See a separate review for even more options.
When buying, you should pay attention to the quality of the material:
- the surface of the panel should be flat. Wavy looks ugly and untidy (unless this is just a design move);
- strength. PVC is a plastic material; it should not break when bent. If the panel is easily pierced with a sharp object, this is also not good, since there is always such a possibility in the bathroom;
- uniform staining.
4 ways to install plastic panels
Craftsmen advise to deal with cladding at a temperature not exceeding 20 °. Before starting the installation, the material must be acclimatized indoors for about two days.
Before starting work, you need to make a markup for all holes and parts protruding beyond the plane of the walls and ceiling:
- for ventilation grills, doorways, built-in wardrobes and windows, it is necessary to make edging from the corners into which the panels will be inserted;
- for suspended equipment, fastening elements should be provided (on the crate or on the base, depending on the installation method);
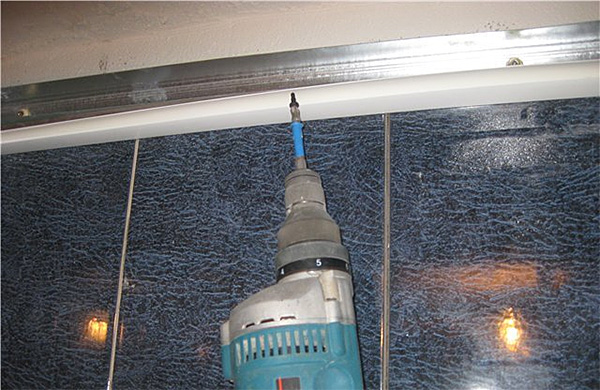
- for ceiling lamps, switches and sockets, holes of the appropriate diameter are cut in the panels.
1. Installation with crate
The frame for the panels can be plastic, wood, metal profiles. Wooden slats must be pre-treated with an antiseptic.
The size of plastic or wooden blocks is 4 by 2.5 centimeters. They are attached to the walls with screws or screws every half a meter (to the ceiling - after 30-40 centimeters).
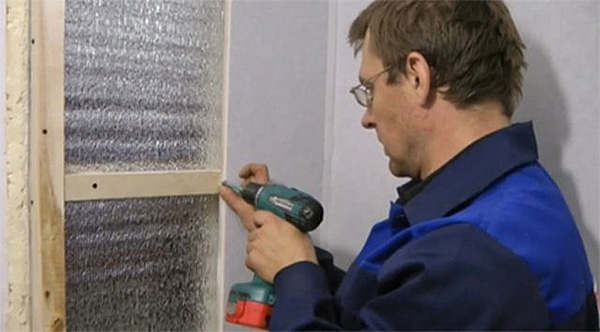
Fastening to a wooden frame
The frame planks are installed perpendicular to the direction chosen for the panels. For the horizontal arrangement of the cladding on the walls, they are fixed vertically, for the vertical - horizontally.
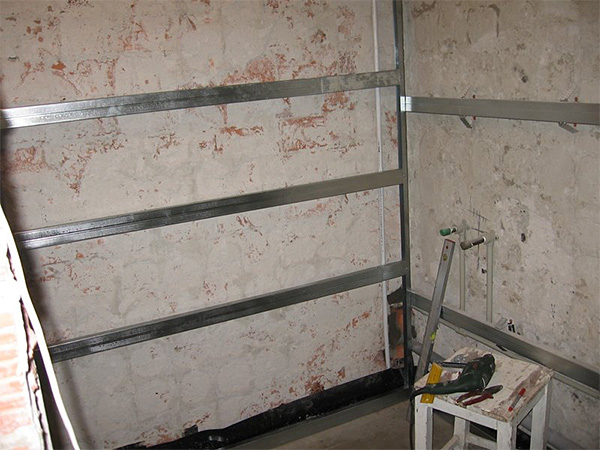
Frame made of metal profiles
The placement of panels is a matter of style and characteristics of the room: vertically located stripes visually raise the ceiling, horizontal stripes “push apart” the walls. But the vertical installation has the advantage that water droplets will flow down unhindered.
The panels can be fastened diagonally. With this method, the lathing is made more often to provide support, including for short sections of panels in the corners of the bathroom.
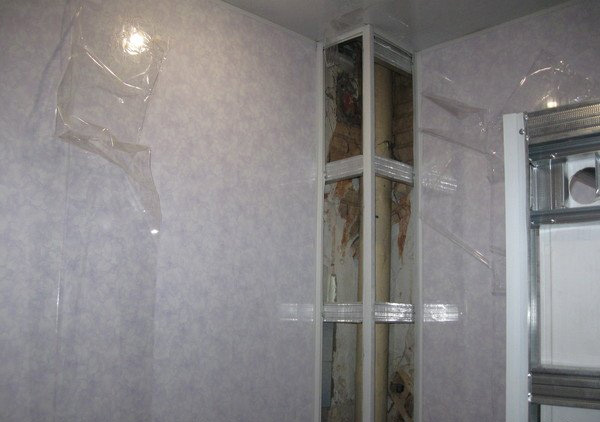
The frame hides the communication pipes
Sequencing:
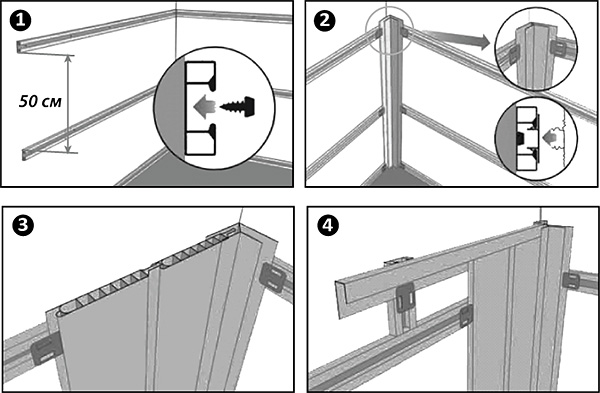
- Installation starts from the door or from one of the corners. First, the starting corner is installed on nails or on metal staples.
- The first panel is inserted into the corner using the small fixing shelf.
- Fastened to the frame with a furniture stapler or nails (they are hammered into a large shelf).
- The second panel is placed close to the first one and continue to operate in the same way, up to the next corner.
- At the end, a finishing corner is installed, the extreme panel is inserted into it.
- The joints of the panels are coated with silicone sealant.
- The installation is completed with the installation of floor and ceiling skirting boards. They can be planted with silicone sealant.
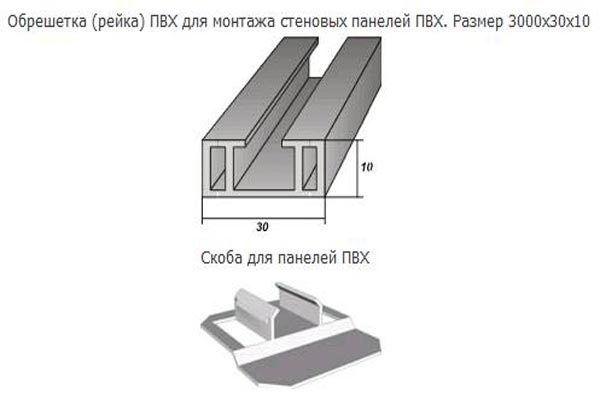
2.Using fixing clips
- The frame is made of mounting strips. If there are noticeable irregularities on the walls or ceiling, plywood or plastic linings are made under the planks.
- Fix the strips with self-tapping screws into the grooves.
- In the corner or near the door, an inner corner or a starting profile is fastened with clips. It can be additionally reinforced with screws.
- The first panel is installed in the profile with the help of a small shelf from bottom to top, fastened with clips.
- The second panel is inserted into the groove of the first panel and is also snapped into place with a clip.
- Similarly further.
- The cladding of the plane is completed by the installation of the extreme corner or profile.
This technology is simpler than simple installation with lathing. Finishing is quicker thanks to ready-made locks. No stapler or other additional tools required. Removing the panels, if necessary, is as easy as installing. Plastic frame is more durable than wood or metal, because not subject to decay or corrosion.
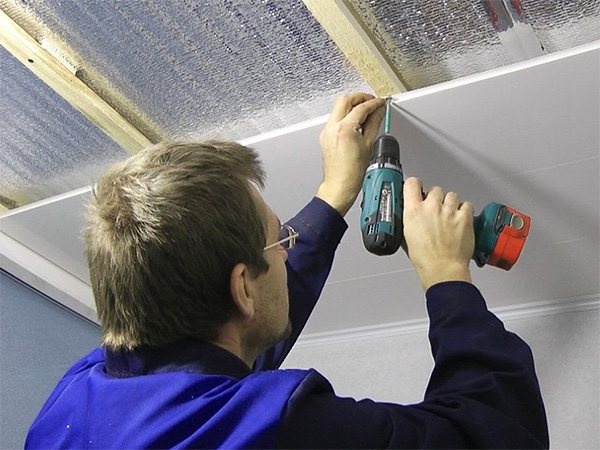
3. Installation procedure for ceiling panels
- The guide profiles are fixed to the wall under the ceiling. The location should be strictly horizontal.
- The transverse profiles of the lathing are fixed to the guides.
- Along the line of the junction of the ceiling with the walls, a ceiling plinth is attached to the guides.
- Panels with pre-cut holes are attached perpendicular to the battens of the lathing to accommodate the fixtures.
Fastening side fittings
4. Adhesive method
Installation on a frame is convenient because the walls are perfectly flat without pretreatment. But this technology also has a drawback: the usable space decreases. Therefore, in small bathrooms, panels are often fastened in a frameless way, with glue. With this method, the surface must first be leveled.
Installation procedure:
- Dry the surface with a building hair dryer or heat gun.
- Prime with antiseptic.
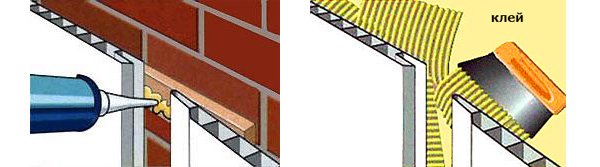
- Align, level. The differences should not exceed 3 mm. Small caverns are acceptable. The protruding tubercles must be removed with a grinder. The surface joints in the corners are strictly perpendicular: the fillets will interfere with the installation of the start / finish profiles.
- The glue is applied to the panel pointwise at some distance from the edge so that it does not protrude from the seam. The panel with glue is applied to the wall strictly according to the level, pressed and held for about 5 minutes, until the composition begins to set.
- The cut of the panels adjacent to the ceiling and floor is fixed with dowels. Subsequently, this fastener will be covered with a ceiling and floor plinth.
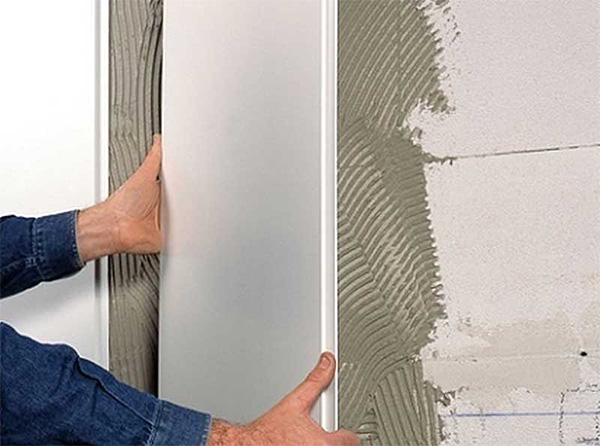
Installation of panels with glue
Conclusion
Cladding with plastic panels is a cheap and technologically simple way to decorate a bathroom. The preferred option is frame installation using clips.
If you need to save every centimeter of space, you can use the glue method, but the energy intensity of the work is higher.
Mandatory installation requirements are the treatment of walls and a wooden frame with antiseptic compounds and a ventilation device in the bathroom.
For others, see the next article.