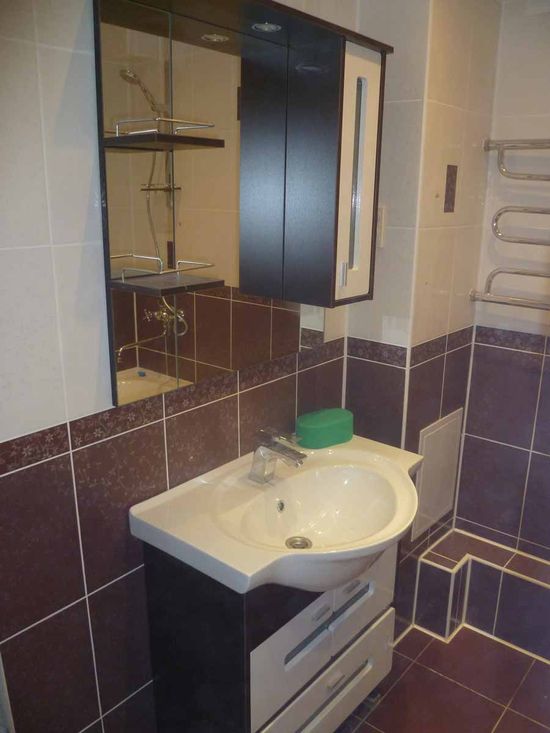
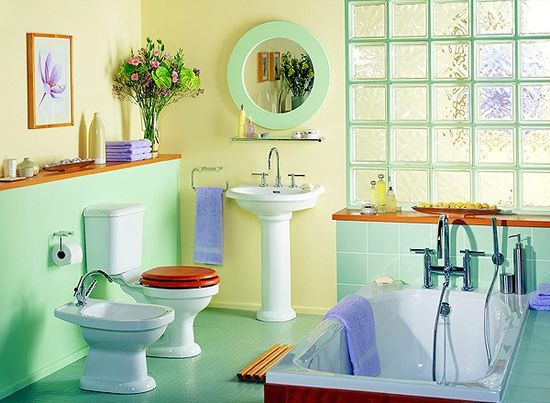
The specificity of bathrooms is such that this room is saturated with less aesthetic elements of communications - water and sewer pipes, water meters, wiring of taps and a toilet cistern, if the bathroom is combined with a toilet. No bathroom interior design can be considered complete until these elements are hidden out of sight, as in the photo. Let's take a look at the basic camouflage options for unsightly interior details.
How to hide pipes under tiles
Tile is the undisputed leader in frequency of use for decorating bathrooms and toilets, so it is quite natural to use it for masking communications. There are two possible options: first - the issue of masking is solved at the time of laying pipes during the construction or overhaul of the premises; second, it is necessary to resolve the issue of masking the already laid communications.

The first option is much easier, because doing it right from the start is always easier than redoing it. We remove communications directly into the wall. For this, after drawing up a plan of water supply communications in the walls, where the pipes will be laid, grooves are hollowed out - special niches. After laying the pipes, the grooves are sheathed with tiles or any other finishing material without any problems.
If we need to hide the already laid communications under the tiles, then we need to assemble a box around them - a structure made of boards or chipboard strips. It is not difficult to do this, two boards or strips of the required width cut from a chipboard (fiberboard) sheet are enough if the communications are located in the corner; or three, if the pipe is laid in the middle of the wall area.
Having assembled the box, we sheathe it with tiles, taking into account the following points:
- Whether chipboard boards must be treated with moisture-resistant compounds, and then covered with a layer of waterproofing. In no case can you save on protection from moisture - rotting of the wooden base under the tiles will quickly destroy the structure, nullifying all our efforts.
- After waterproofing, the box can be plastered over a metal mesh or, if the surface is sufficiently flat, to fill in individual roughness.
- Depending on the overall design idea, we design the box in the colors of the entire bathroom, or deliberately focus on the "column".
How to hide pipes under drywall
Tile decoration, for all its advantages, also has a significant drawback - it is almost impossible to dismantle it without loss. If emergency access is required to communications, the tiles will have to be broken. You can provide access to communications by disguising communications as drywall.
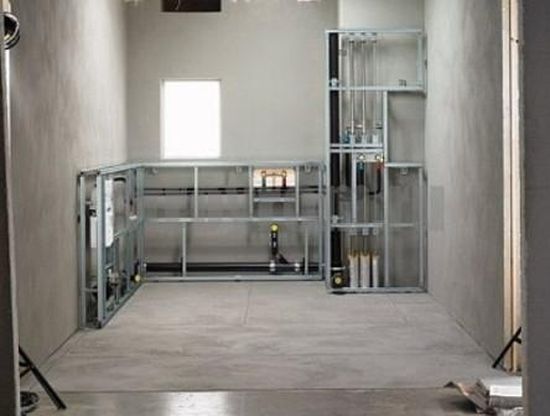
To do this, we mount a frame made of a metal U-shaped profile (photo). We mount horizontal lintels with a step of no more than 20 cm to the vertical guides that have been calibrated to a plumb line. A layer of vapor-waterproofing is laid on the frame, which will help to avoid the accumulation of moisture under the finish.
After installing the sheets of finishing material and filling the joints, it is also necessary to lay a layer of waterproofing on top, since this material is afraid of moisture, even if we use a special waterproof material. From above, the drywall box can be finished with self-adhesive film. The order of work can be seen in the photo.
Now it will be much easier to get to the pipes if necessary. To do this, you need to disassemble the box in the reverse order. After solving all the problems with communications, the box can be reassembled from the same component parts, it will only be necessary to repeat the filling of the joints.
The advantage of masking pipes with drywall is that this method can be easily combined with others. So you can put tiles on a plasterboard partition.
How to hide pipes under plastic panels.
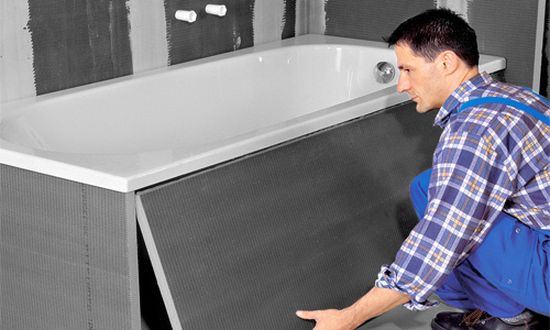
Plastic panels, unlike drywall, are not afraid of water and do not need external waterproofing. An internal waterproofing layer is still needed in order to avoid moisture getting into the box.
- The frame for plastic is made in the same way as for the previous finish
- A layer of internal waterproofing is mounted on the frame
- Plastic panels are cut to the required size with a hacksaw or jigsaw.
- We mount plastic panels to the frame with a stapler, nails or self-tapping screws while maintaining the pattern.
- Seal the joints and caps of the self-tapping screws with a sealant.
Regardless of the method of "camouflage" when camouflaging a sewer riser in a bathroom combined with a toilet, it is necessary to consider the issue of thermal insulation, since the riser is a powerful "cold tunnel". If wood or chipboard are good heat insulators in themselves, then in the case of pipe cladding with plastic or drywall, the waterproofer will also have to play the role of insulation.
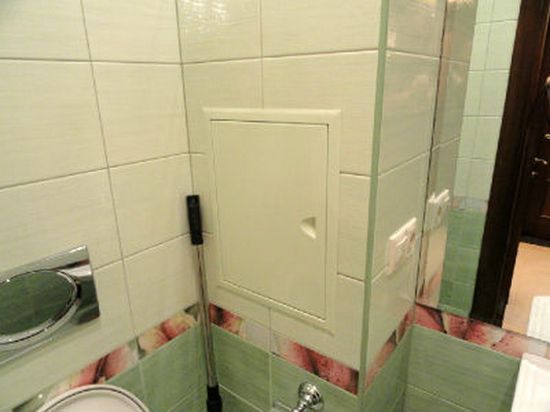
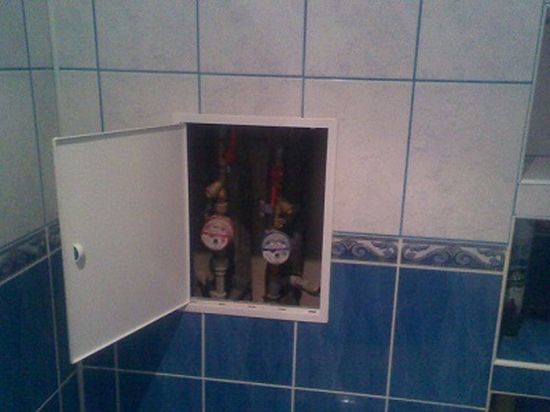
It is imperative to provide for easy access to valves and water meters. For this, doors are mounted in the casing.