Bathroom renovation is a major process, during which you have to carry out a lot of assembly and disassembly work. Replacing the mixer is a responsible process, because if you do not install correctly, then in the future this will lead to many problems: leaks, poor water supply, etc. Do-it-yourself bathroom faucet installation, however, will save you money and have a great experience.
Choosing the right mixer
Before installing the crane, you must select the correct model according to the following criteria:
1) By design, the following models are distinguished:
- Dvuhventelnye. They are equipped with two handles for separate supply of cold and hot water.
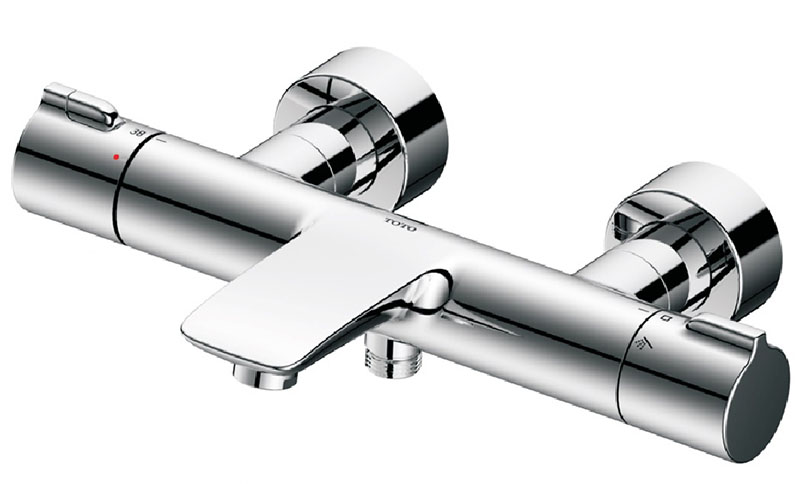
- Thermostatic... Water is supplied at a given temperature constantly, until the change in indicators.
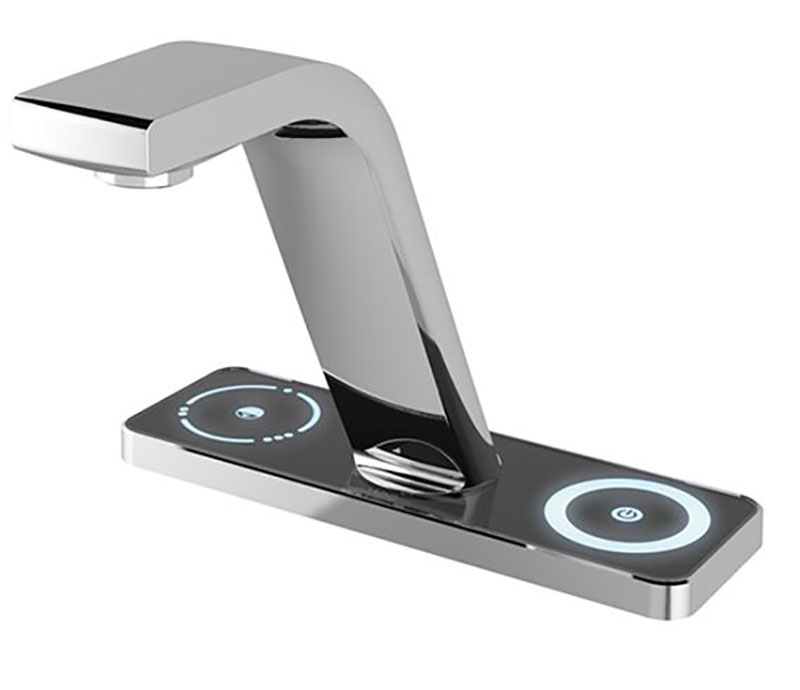
- Contactless. Switching on occurs due to special sensors, without tactile contact.
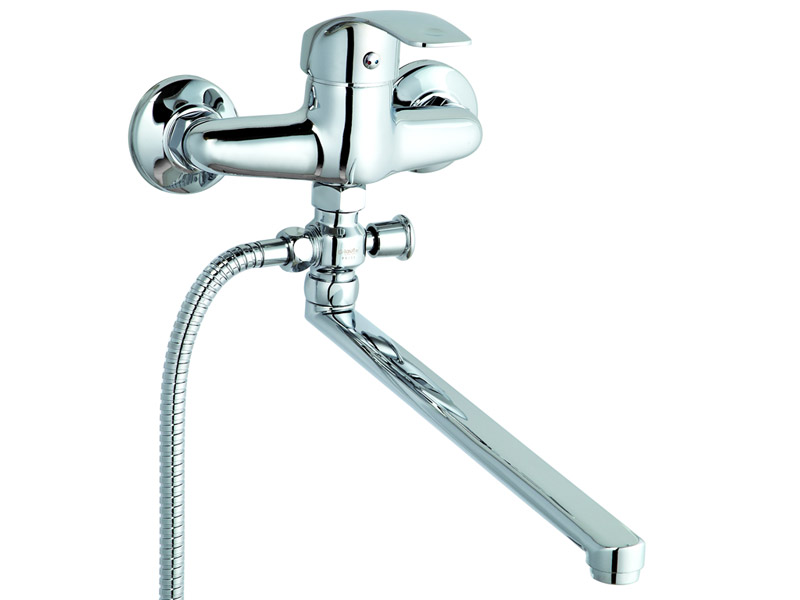
- Single-lever. They have only one handle, due to which the supply of both types of water is regulated.
2) The material from which the mixers are made. First, the heavier the crane, the better it is. It is best to give preference to brass or bronze taps. These materials, in contrast to silumin, do not corrode. Brass mixers are often subject to additional processing. Best of all chrome plated, it is more durable and hygienic.
3) Additional elements:
- seals should be made of rubber, plastic is less reliable and durable.
- be sure to check that the spout spacer is included in the kit. Many do not consider it necessary to install it. However, if you do not do this, then soon your faucet will flow.
- the shower diffuser must be equipped with self-cleaning nozzles. That is, small suction cups protrude from the holes of the diffuser, which themselves expand when the water pressure changes and shake off the salt deposits.
Faucet Installation Tools
In order for the installation of a high-quality mixer in the bathroom with your own hands to be simple and quick, we need the following tools:
- adjustable (gas) wrench for dismantling the old mixer;
- pliers;
- vinyl insulating tape (FUMA) for waterproofing;
For insulation, fumu should be wound around the threads in 15 layers clockwise. When turning the nut, the fuma will tightly fit into the thread, creating a reliable seal. If you wind it in the opposite direction, then it will go off and over time it will leak.
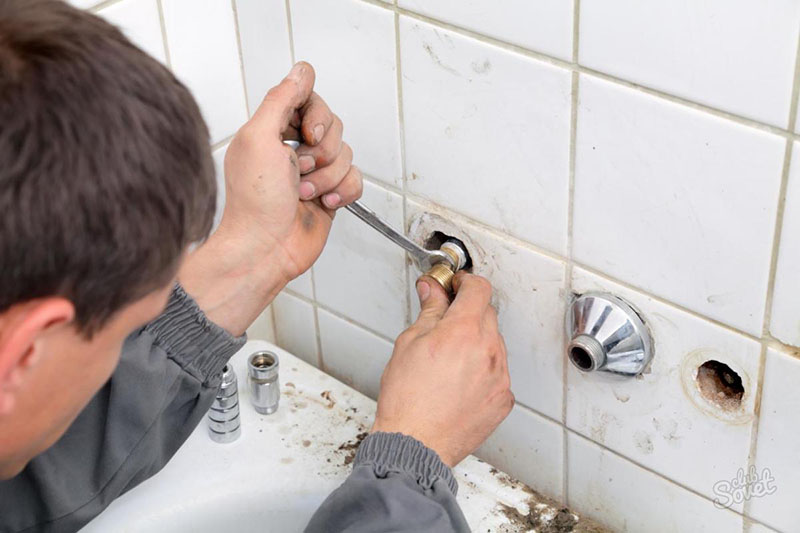
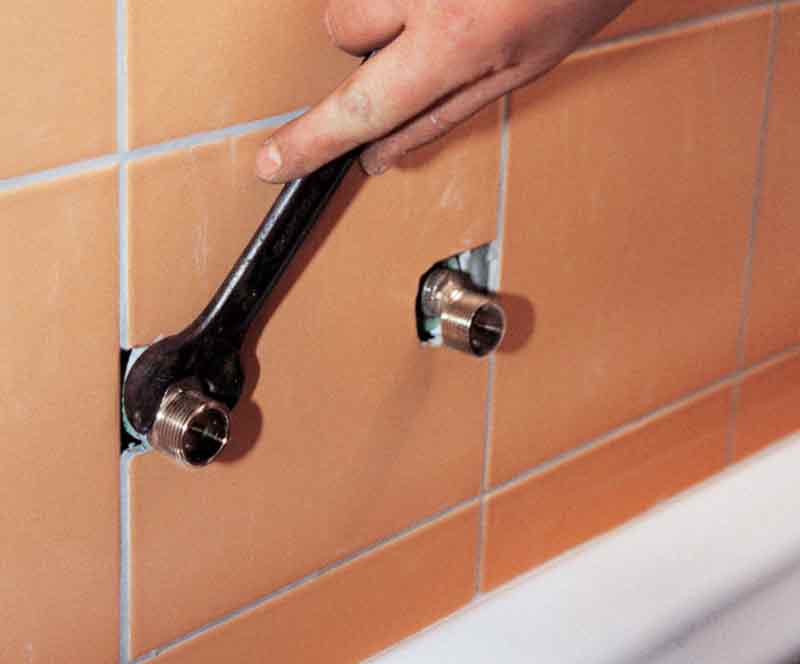
- It is necessary to turn off the supply of cold and hot water, and then by opening the taps, release the pressure.
If the inlet taps become unusable, then you can open any other cold water tap that is lower in level than the mixer, for example, the water supply tap in the toilet. Water will begin to drain through the bottom tap, shutting off the flow to the mixer.
- After making sure that the water supply is stopped, using a wrench, remove the union nuts that attach the mixer to the pipeline. It is necessary to unscrew it counterclockwise.
- After removing the faucet, remove any foreign elements, such as a filter element that quickly clogs up and reduces the water flow.
Installation of a new mixer in the bathroom
If during the installation of the installation the end fittings are not brought out, then the following nuances must be taken into account:
- think over the location of the new mixer in advance;
- it is necessary to leave a distance of 15 cm between the hot and cold water fittings;
- Hot water should be on the left, and cold water on the right;
- It is believed that the most comfortable location of the mixer is 60-80 cm from the floor or 15-20 from the bath;
- The inlet fittings should be recessed into the wall so that after the tiles are laid, the ends are flush with the face of the tile. In the future, you can close the tap connection point with decorative tiles or a cup.
The very process of installing the mixer is as follows:
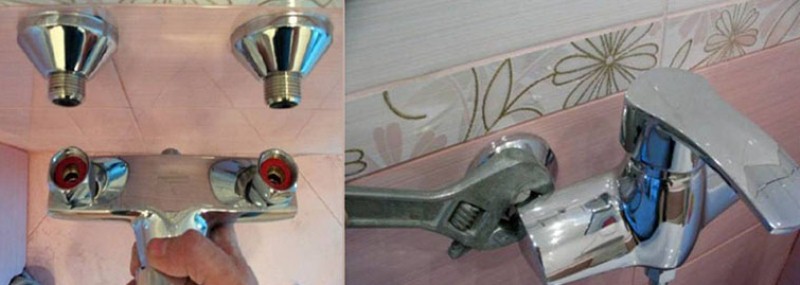
- We install eccentrics. We wrap the eccentric fittings tightly with a fum and screw them to the pipe holes. Then, with a key, turn the eccentrics by 0.5-1.5 turns so that the wide edges of the fitting are in the same position and at the same level. It is necessary to observe the exact center distance and horizontal position using a level.
- We screw on the mixer and check the evenness of the installation. Check that the flare nuts can be tightened easily. If this does not happen, then slightly turn the eccentrics.
- We close the eccentrics with decorative cups.
- We insert gaskets into the flanges: first a black rubber one, and then a hard colored one. This will protect the rubber from damage when screwing on the fitting.
- We screw the union nuts onto the fittings and tighten with a wrench. Do not tighten it too much. Apply water pressure and check for leaks.
Place a soft cloth under the wrench to avoid scratching the coating of the nuts.
- Installing the spout. We put on the nut and tighten it with a wrench.
- We fasten the shower hose to the mixer body, remembering to insert the gasket.
Gaskets are not needed only if the inlet has a conical recess, and a hemispherical under the mixer shower.
- We wrap the watering can itself to the hose.
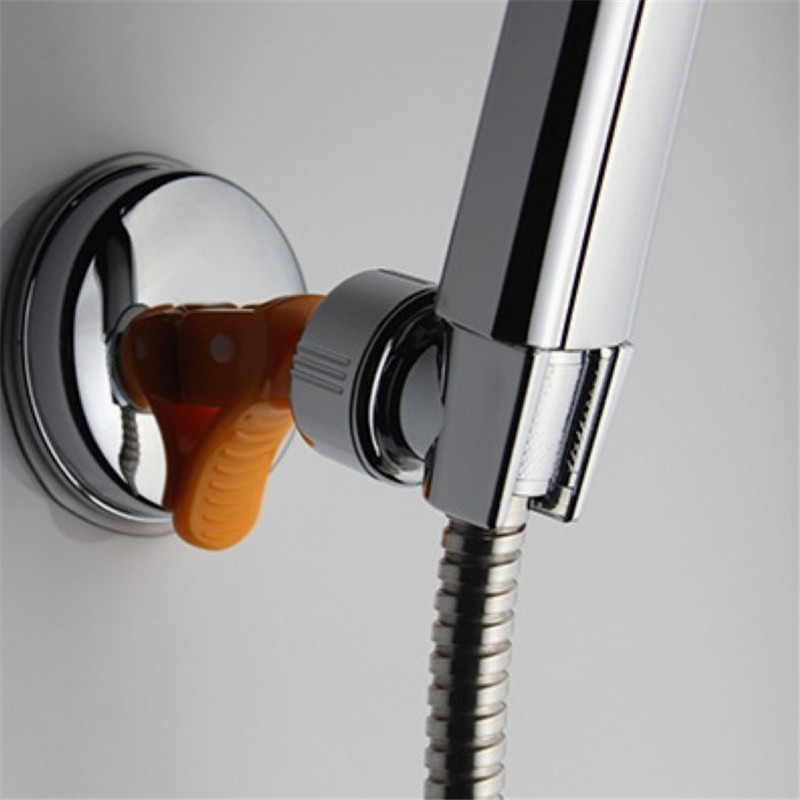
- We mark the location of the watering can and its attachment.
- We drill holes and fix the bracket for the watering can on the wall. At this point, the installation of the new mixer is complete.
In fact, installing a new mixer is not such a difficult task. The main thing is to try, not be afraid, and work carefully. This experience will be useful to you many times in your life.