Hello to all pikabushnikov!
The technology itself I have long spied on from one company that produces paints and varnishes, in which I once worked. Having studied the technology and having selected similar materials, I started to act.
The photo shows a ready-made version, as you can see there are no tiles in the shower area. But first things first.
History. I decided somehow to update my bathroom. About four years ago.
Laying it out with tiles is too difficult and trite. Rectangles, dark bottom, decorative horizontal border, light top. Skukaaa! :) The tile, in the literal sense, is unpleasantly cold when you touch it with your naked body, has seams where moisture penetrates, mold forms, etc. Difficult to replace if you want to update the look of the bathroom. And in general, the look of the tile is somehow not very comfortable. Whatever color and design the bathroom, made with tiles, would not be, it seems to me "cold", already in a figurative sense.
Of course, you can use wall panels, but that's a completely different story ... They look cheap and don't give a good seal in the seams. And the installation is also not easy, like the tiles.
So I came to the conclusion that I will use the technology with glass wallpapers and special indelible paint.
In order not to break up the post with sheets of text, I will post details about the technology and materials at the end of the post.
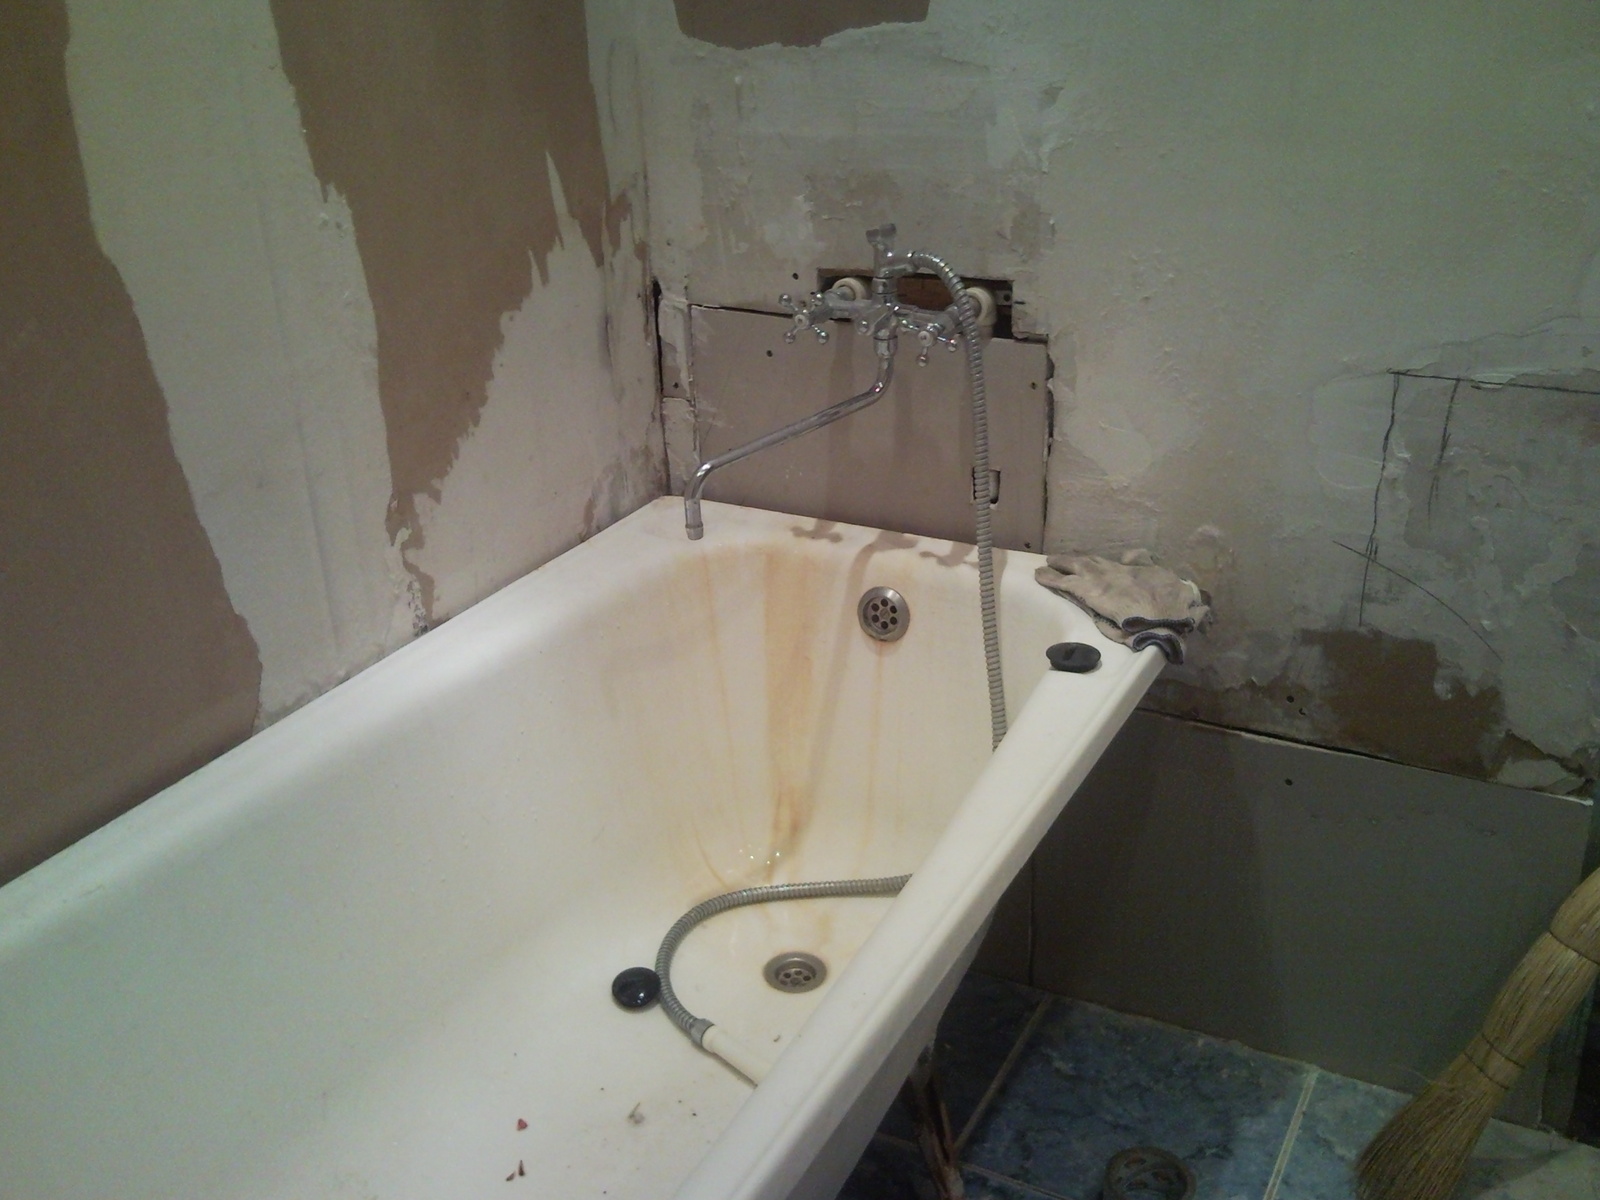
Start. The bathroom is decorated with oilcloth! O_o The bath is rusty. The mixer is out of date. One dim lamp emits light. And it is located behind your back when you look in the mirror.
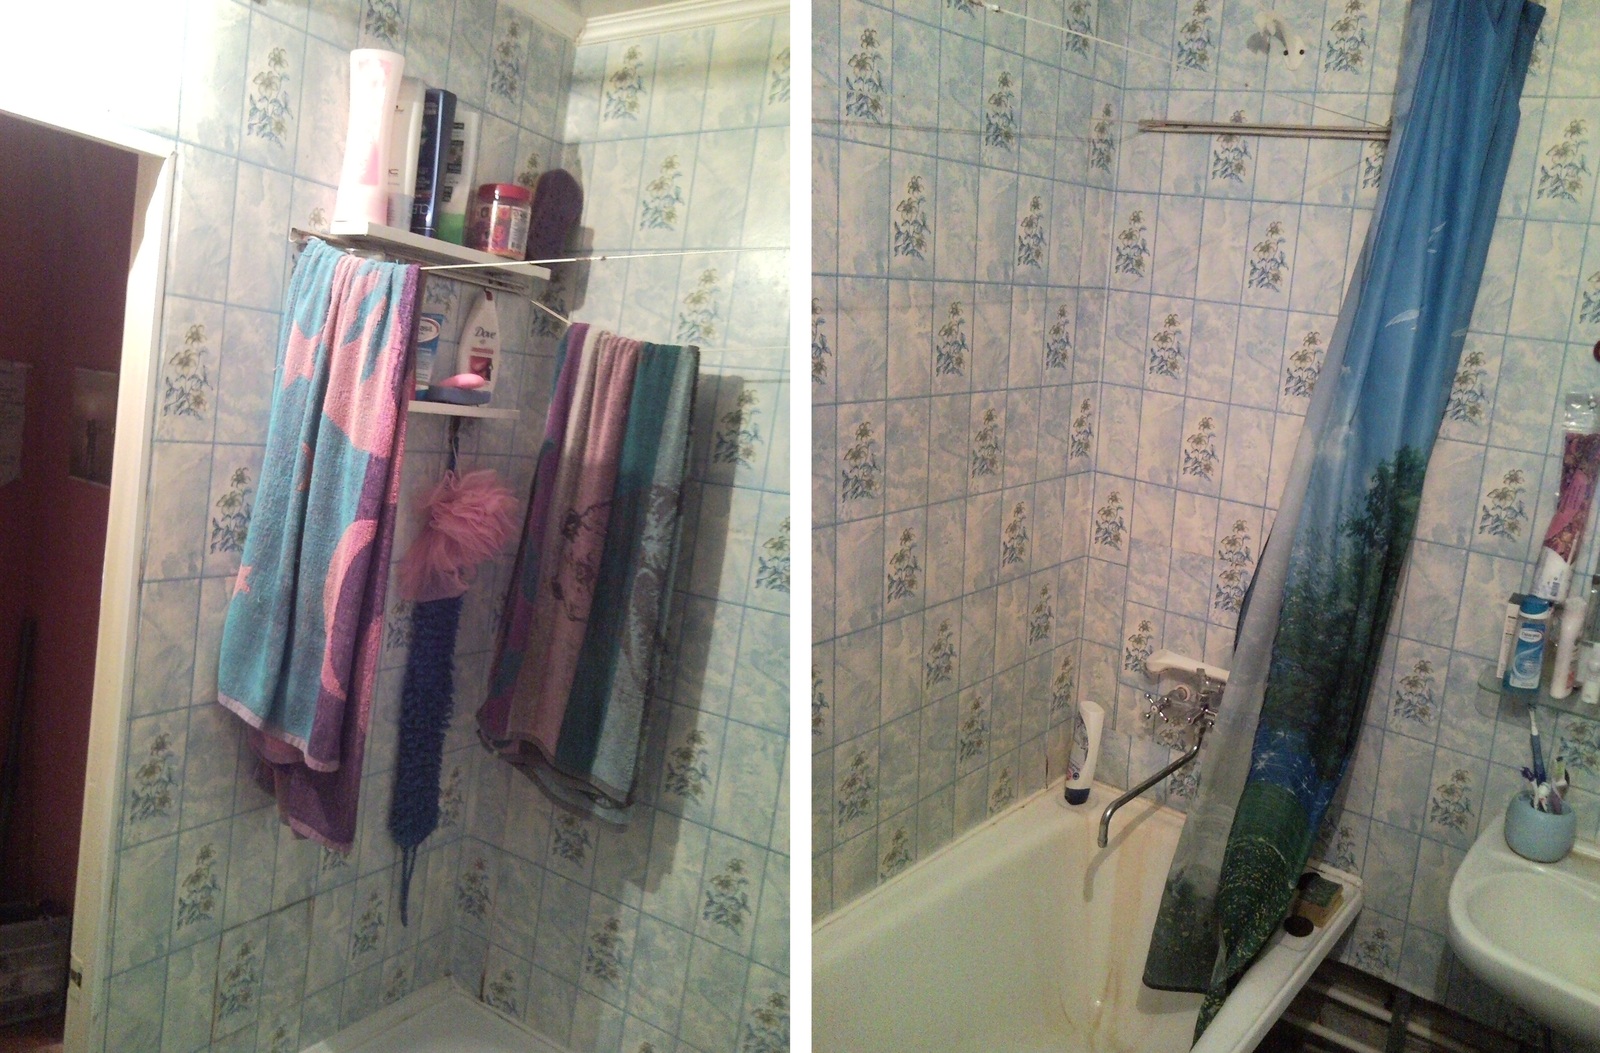
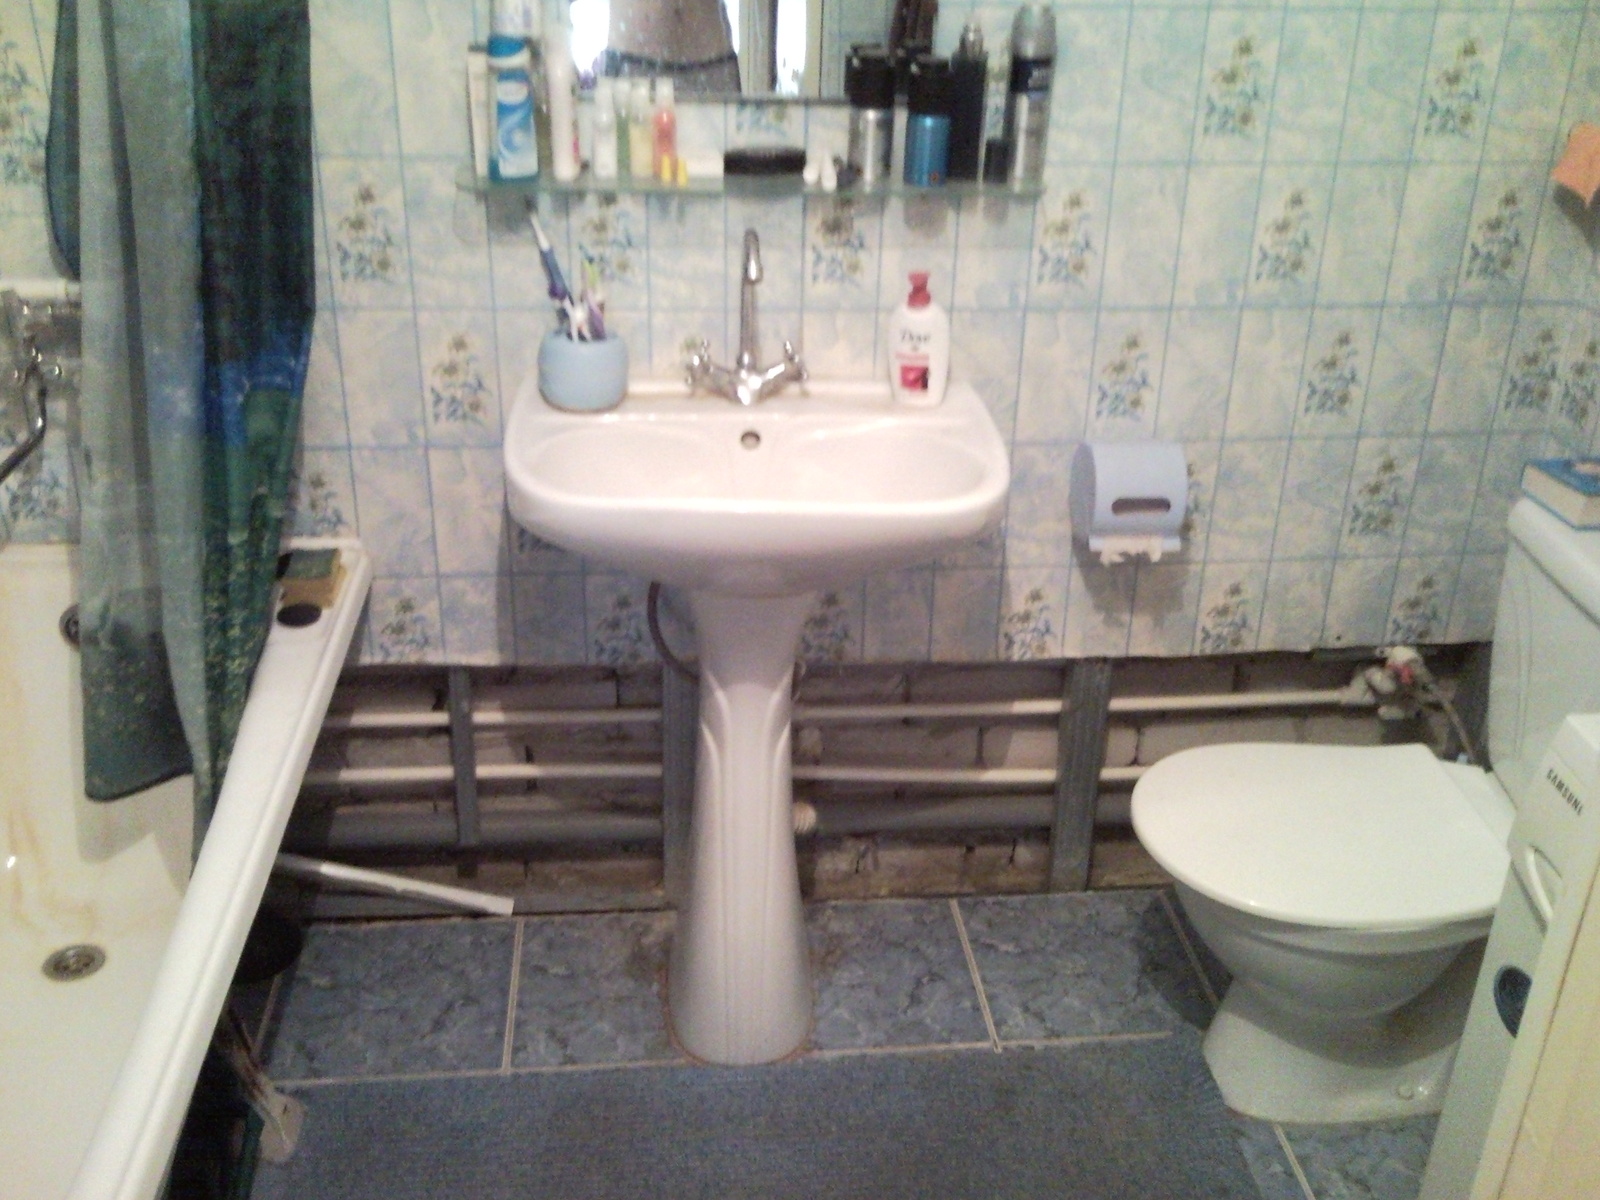
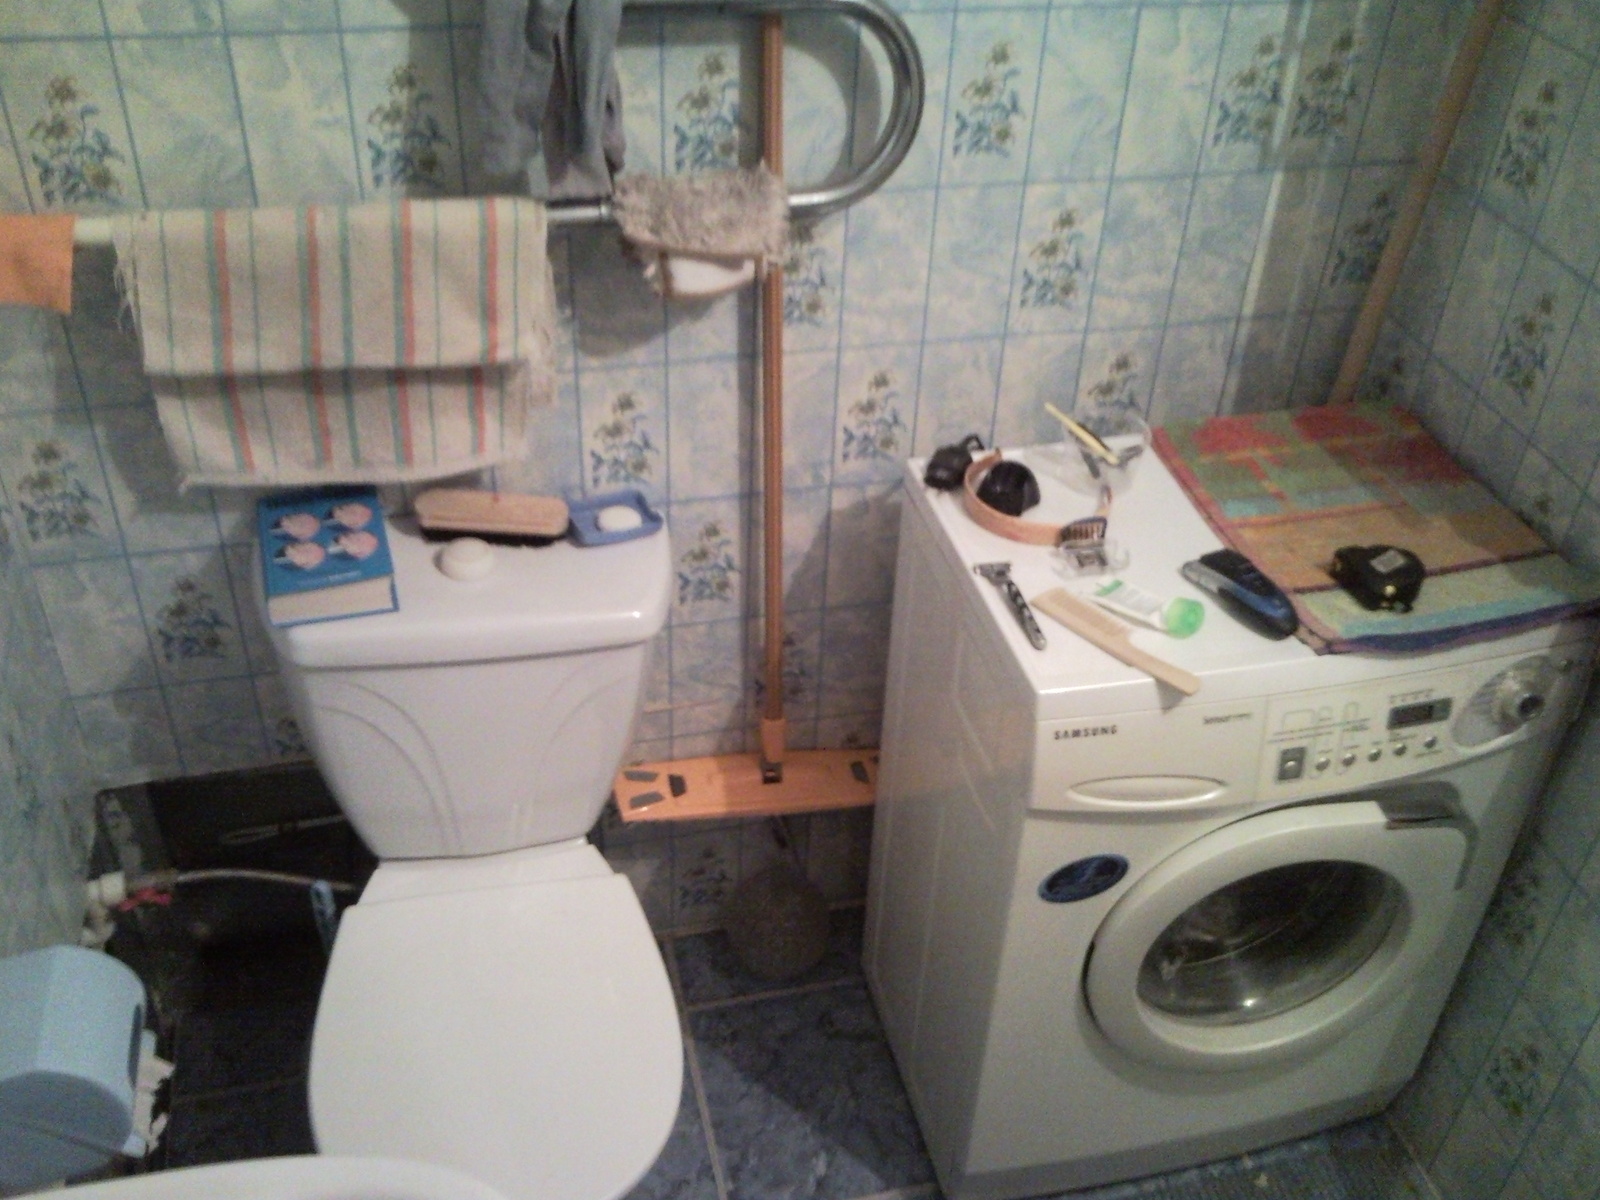
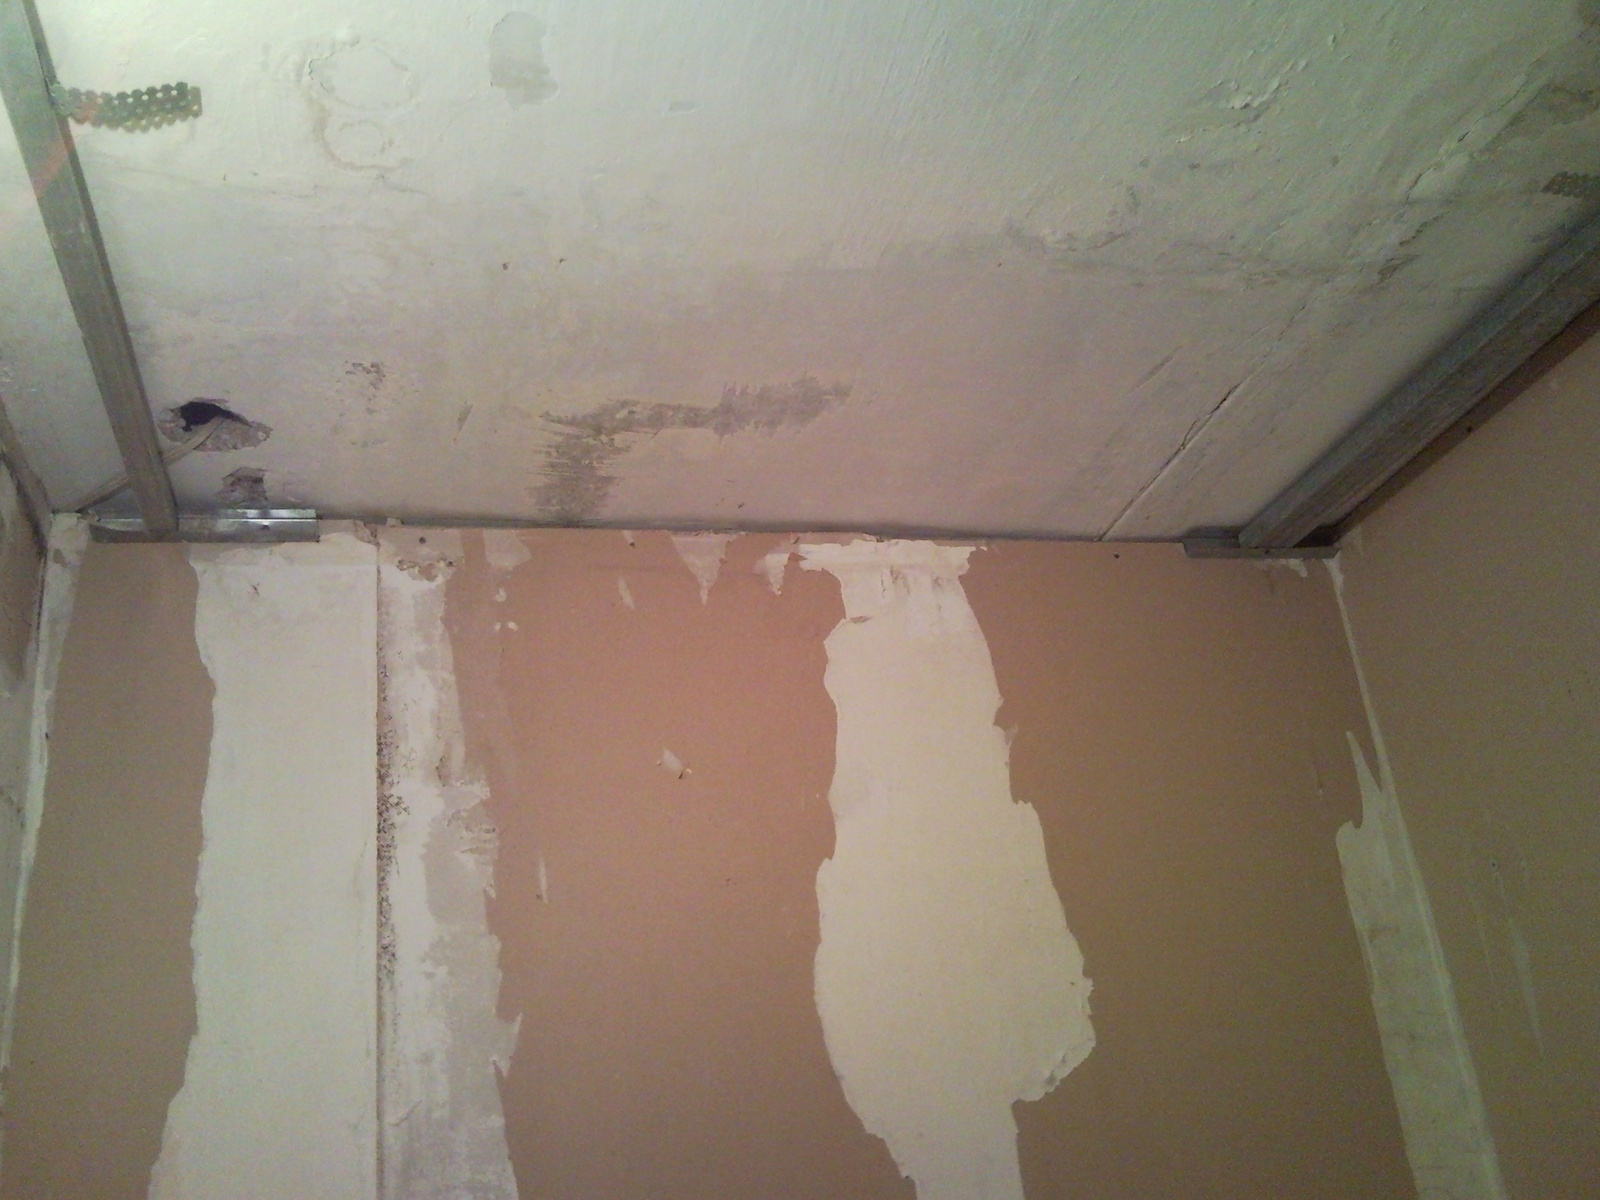
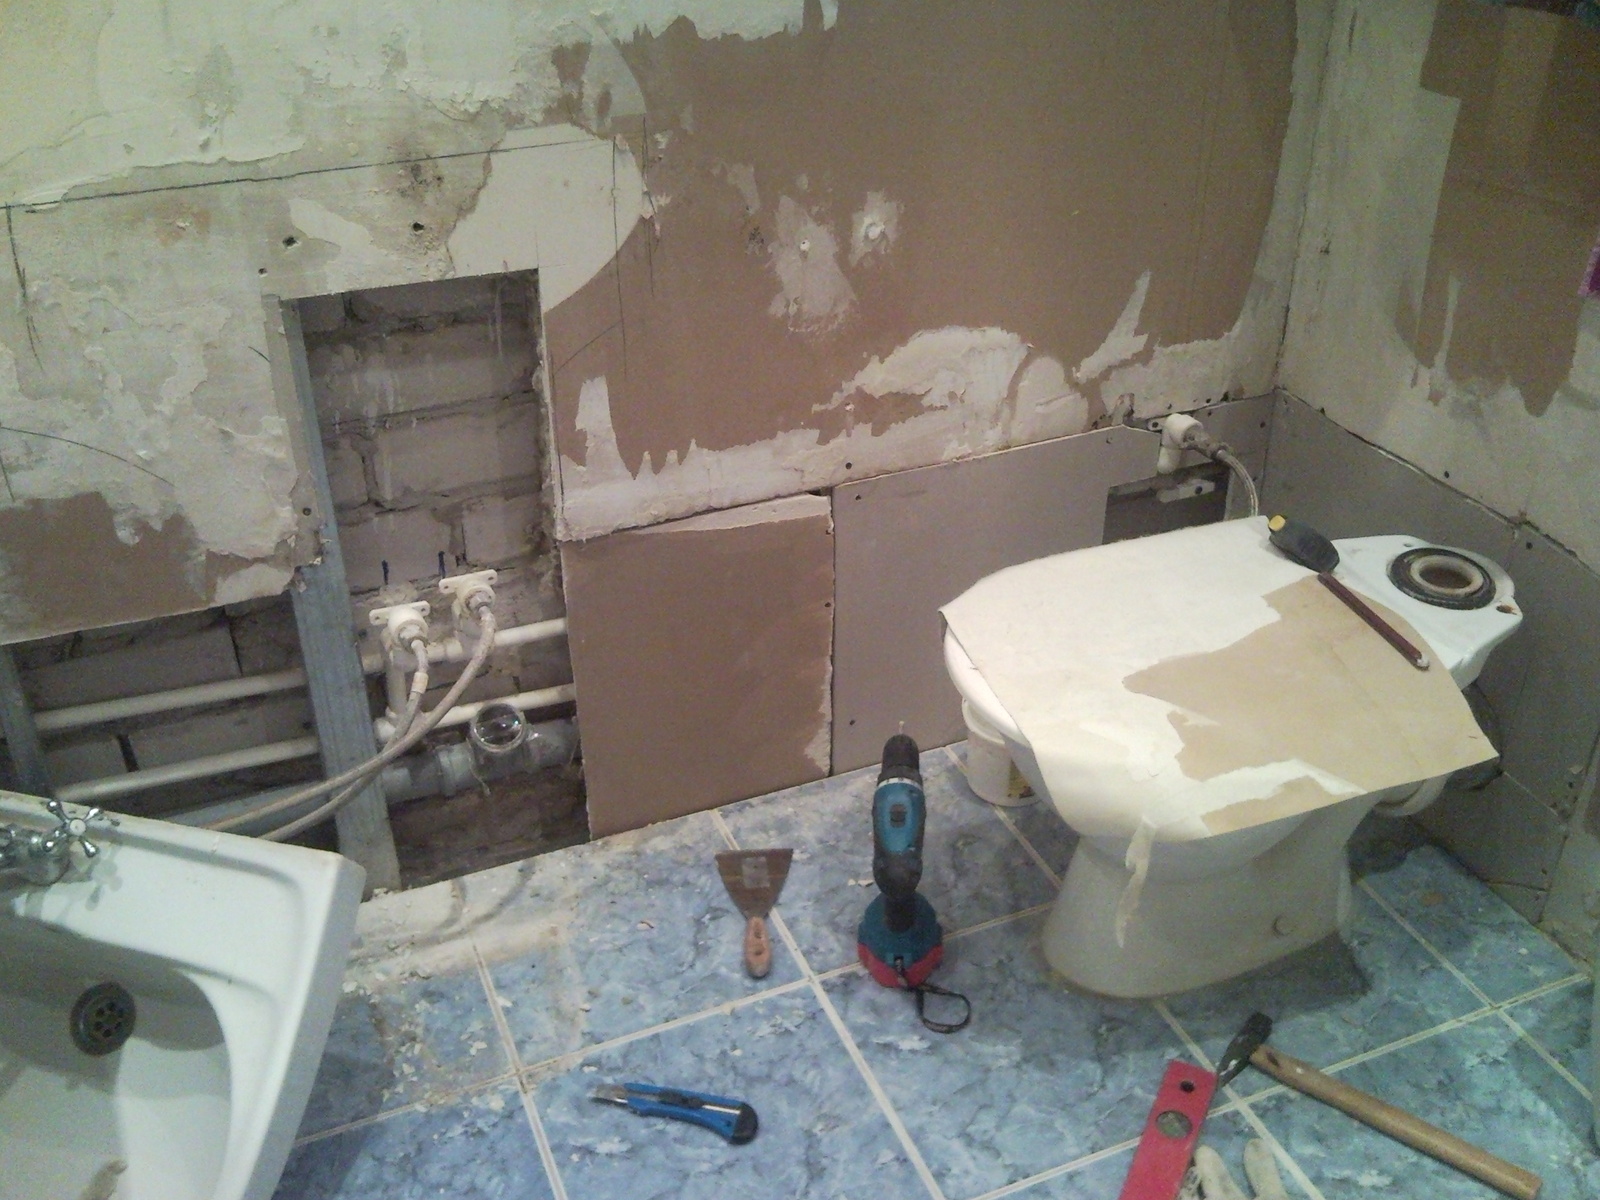
There were holes at the bottom of the bathroom, from a recent rework of pipes. The sink stood on an ugly leg and was old, as was the mixer. Dark scary floor. Toothbrush cup and toilet paper holder - plastic and outdated.
In contrast to all this, I wanted to make a bright, clean, comfortable bathroom. At the same time, apply unusual, author's solutions. I did not draw projects, I imagined everything in my head and implemented it. There was only a sketch of a plan, a list of points with which I checked, supplemented, crossed out what had been done.
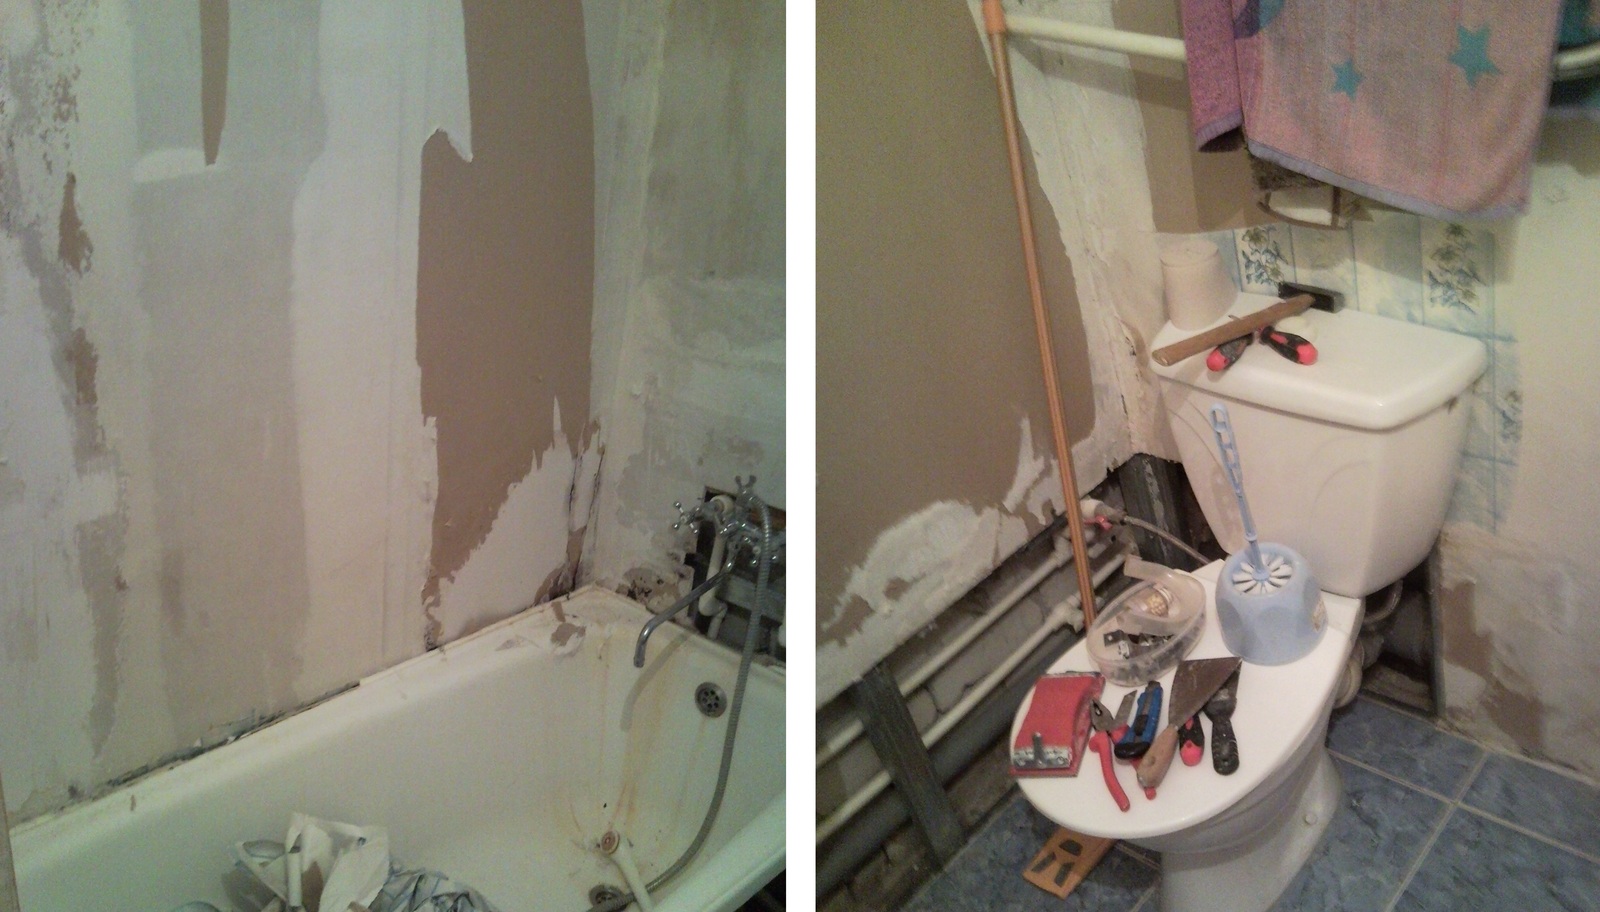
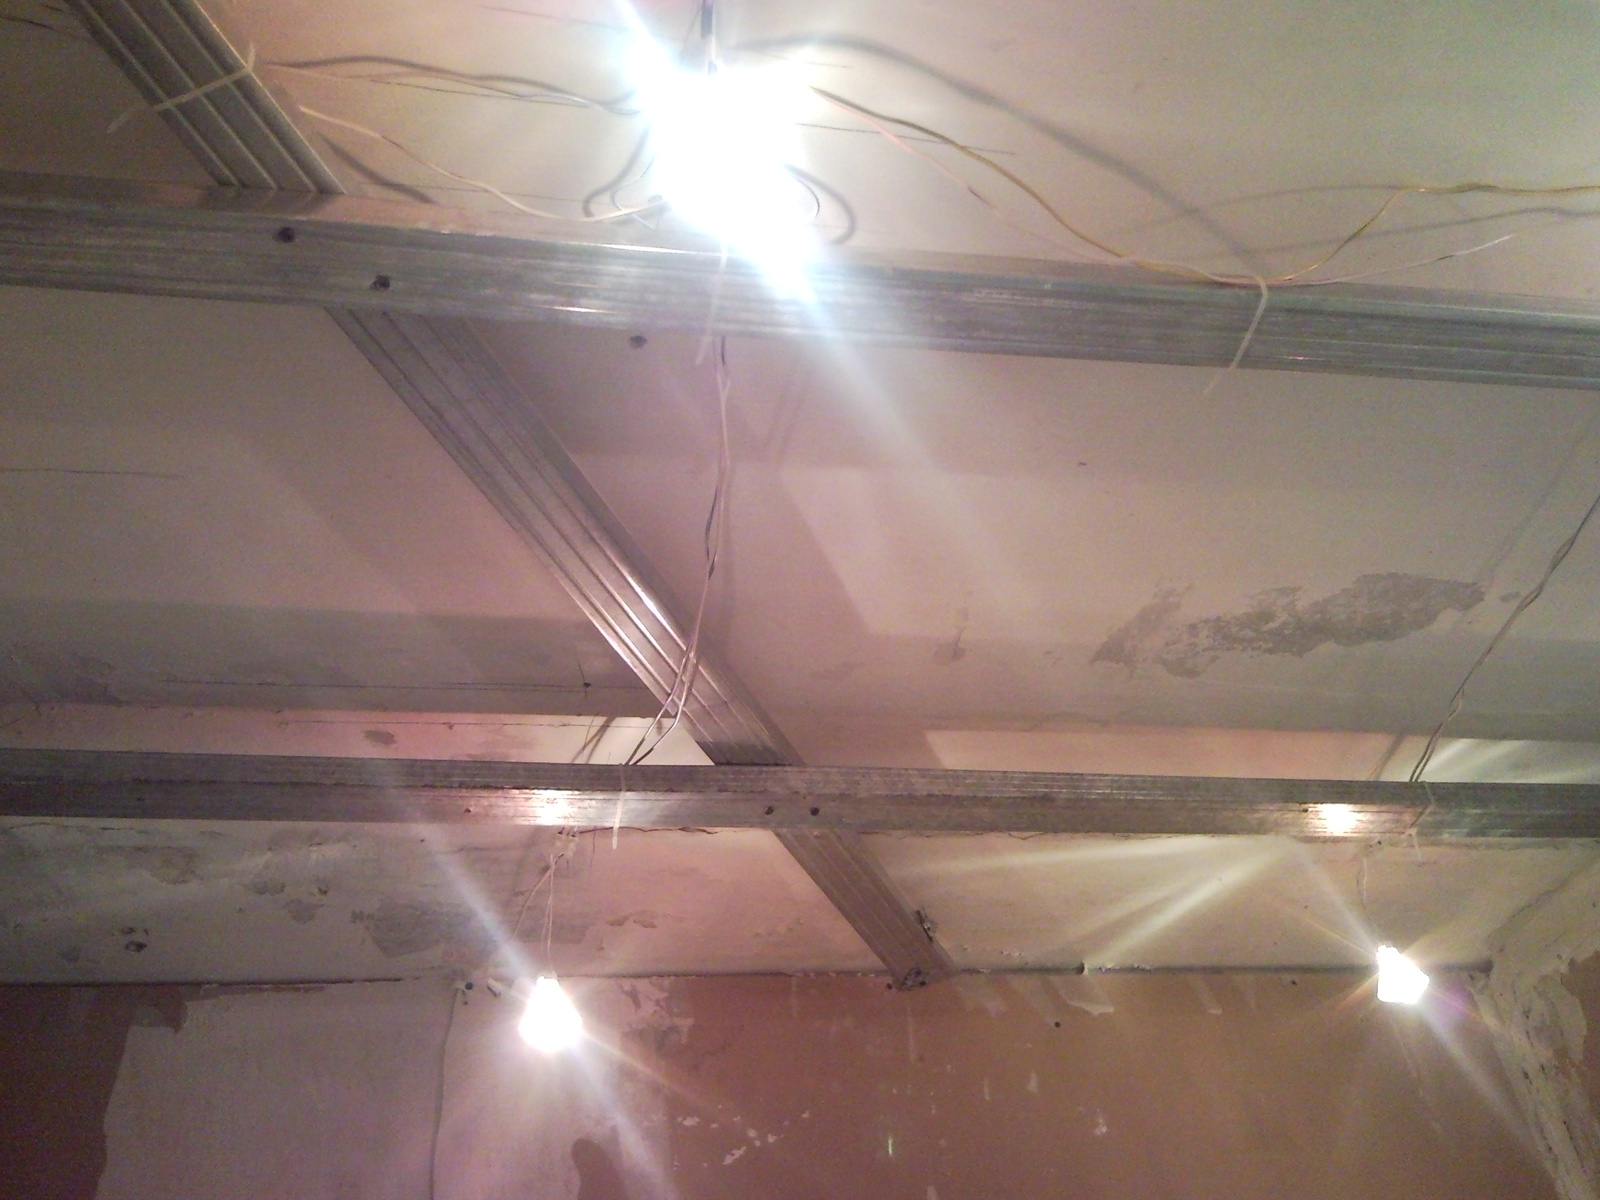
It all starts with dismantling. We tear off the oilcloth. We disassemble the ceiling.
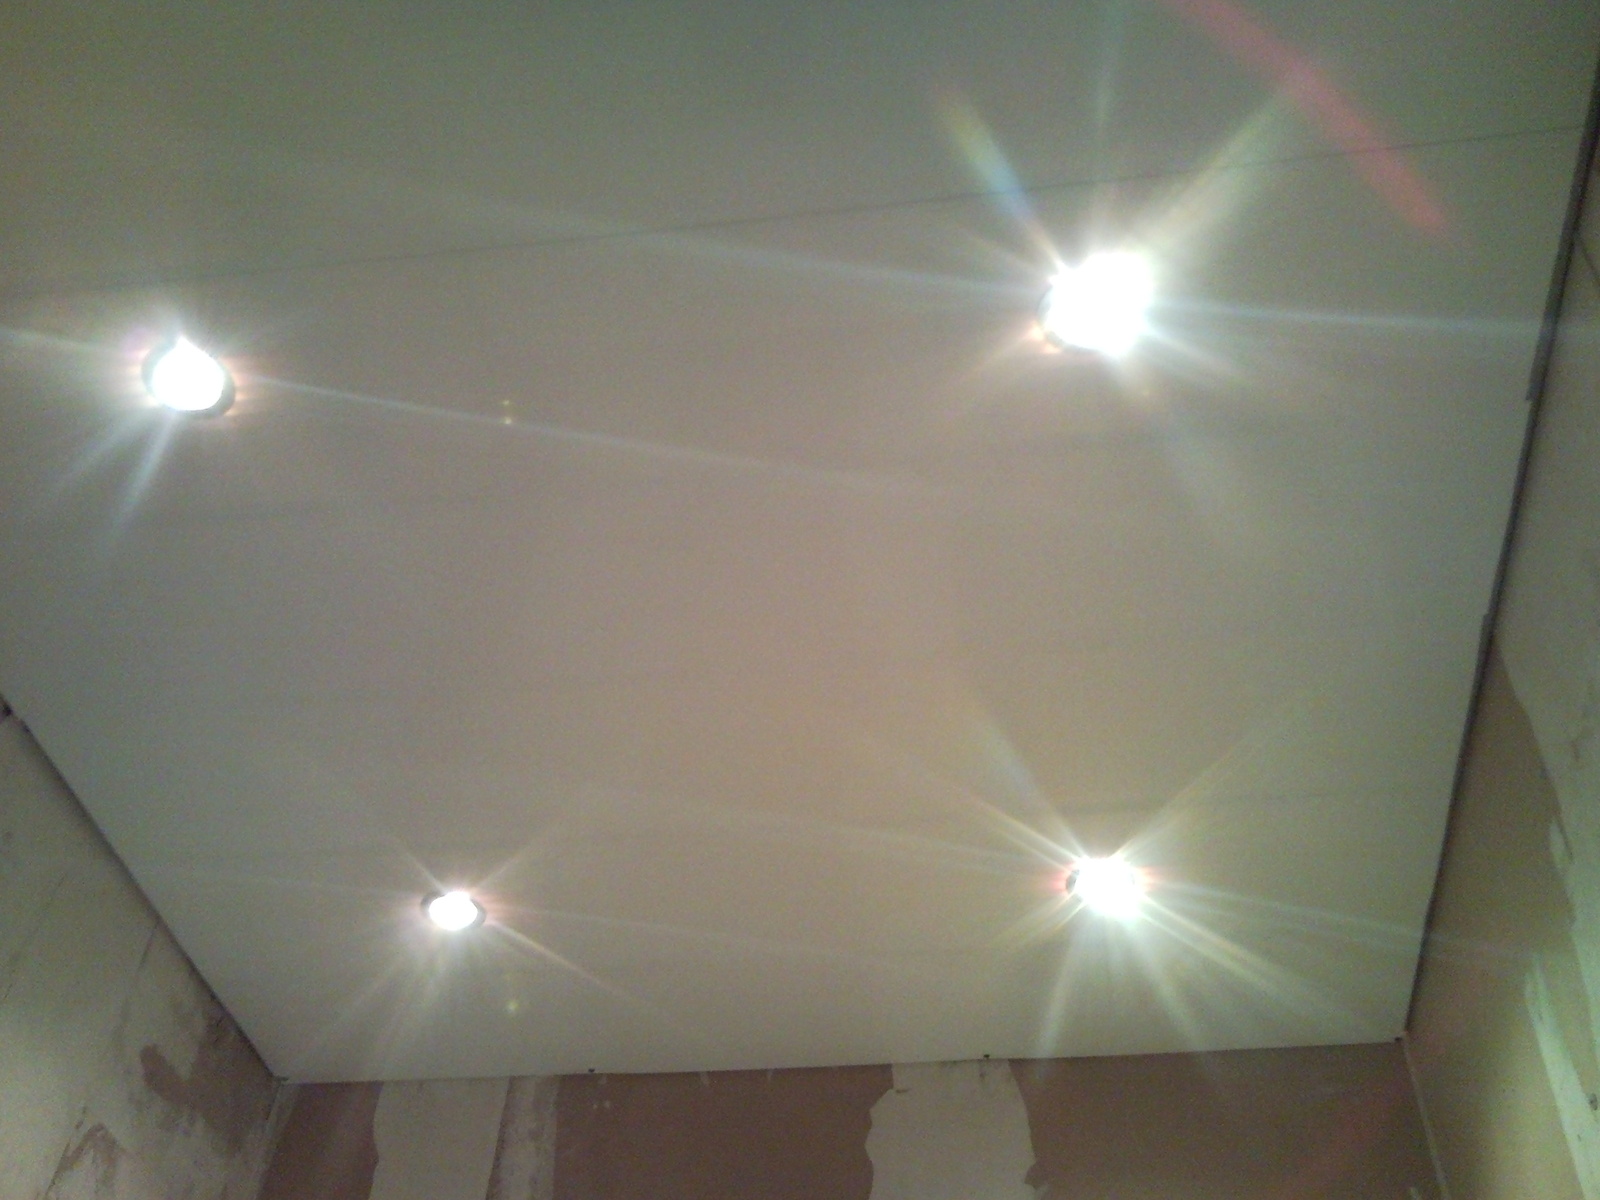
The first thing I did was make a new ceiling. There will be more light, more convenient to work.
I made a wiring for 6 spotlights, an output for illumination at the mirror and brought an acoustic wire into the kitchen. Sewn up with white wall panels.
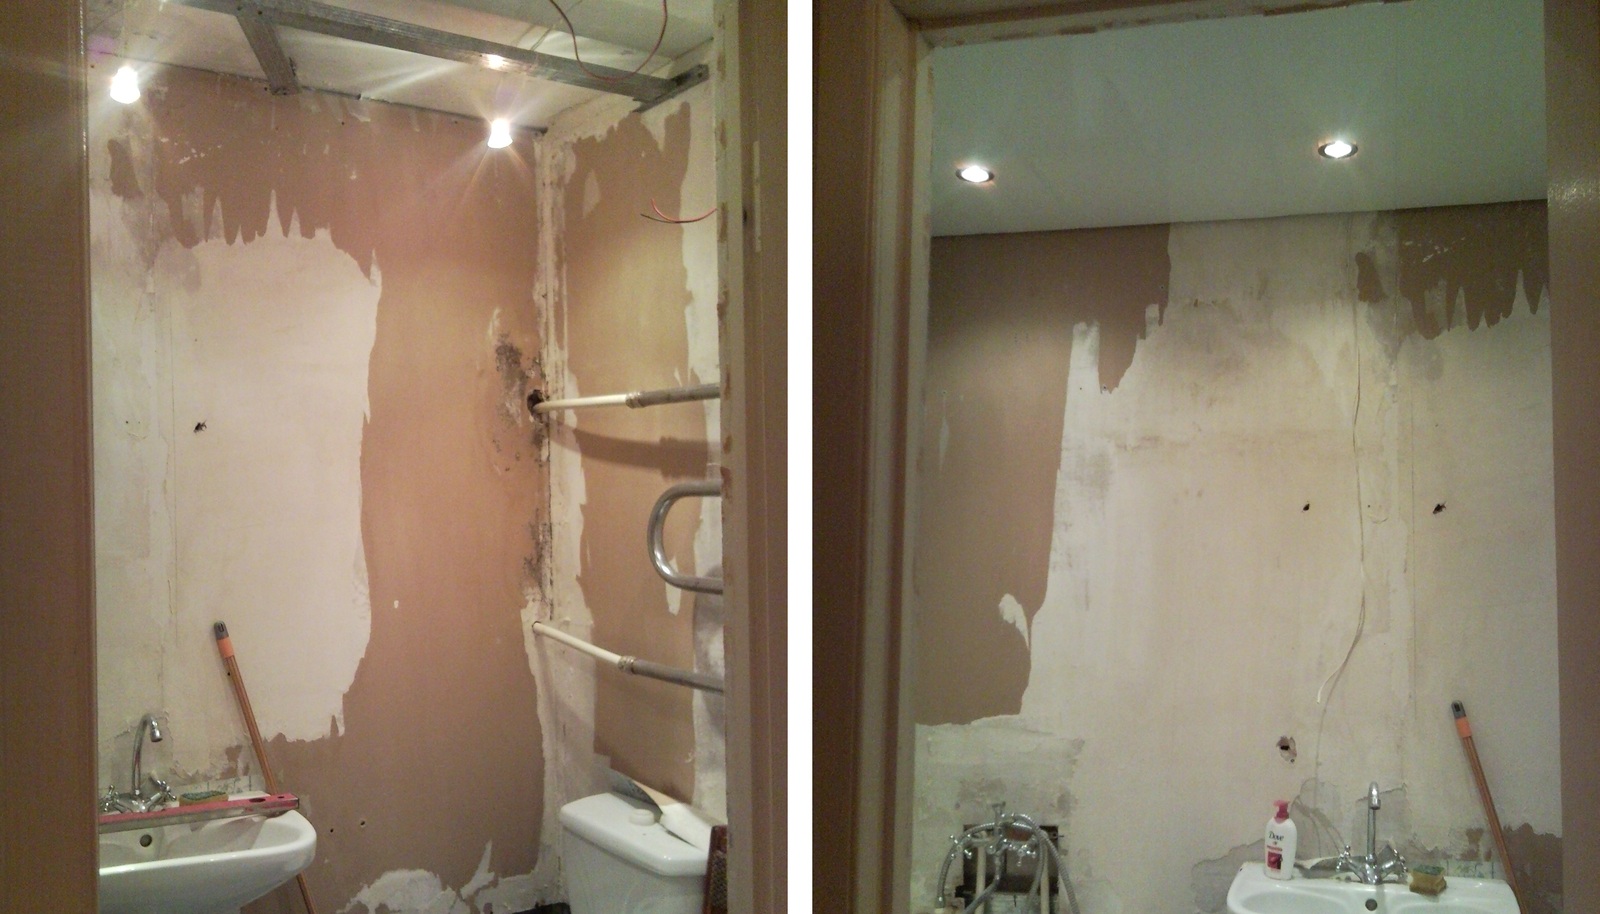
He took off the cistern. I sewed up the holes along the perimeter of the bathroom with plasterboard.
Marked and installed hardware for the new sink. It will be suspended, which will increase the space and simplify cleaning.

The first important stage of the project "Bathtub without tiles". After the holes have been sewn up, all the joints are primed, puttyed and leveled using a high-quality moisture-resistant putty. The photo has not yet been putty.
Second phase. All walls are carefully primed in 2-3 layers using a good, moisture-resistant primer with antifungal additives. Prime properly. We dry each layer well.
![]()
Stage three. We glue the wallpaper. Only we take wallpaper not simple, but glass wallpaper (more at the end of the post). We also take glue for fiberglass, moisture resistant and do not regret it when applied. Now, before the fourth stage, you can let everything dry well, for example, leaving it overnight. It's not scary that the wallpaper shines through. We will still paint everything in several layers.
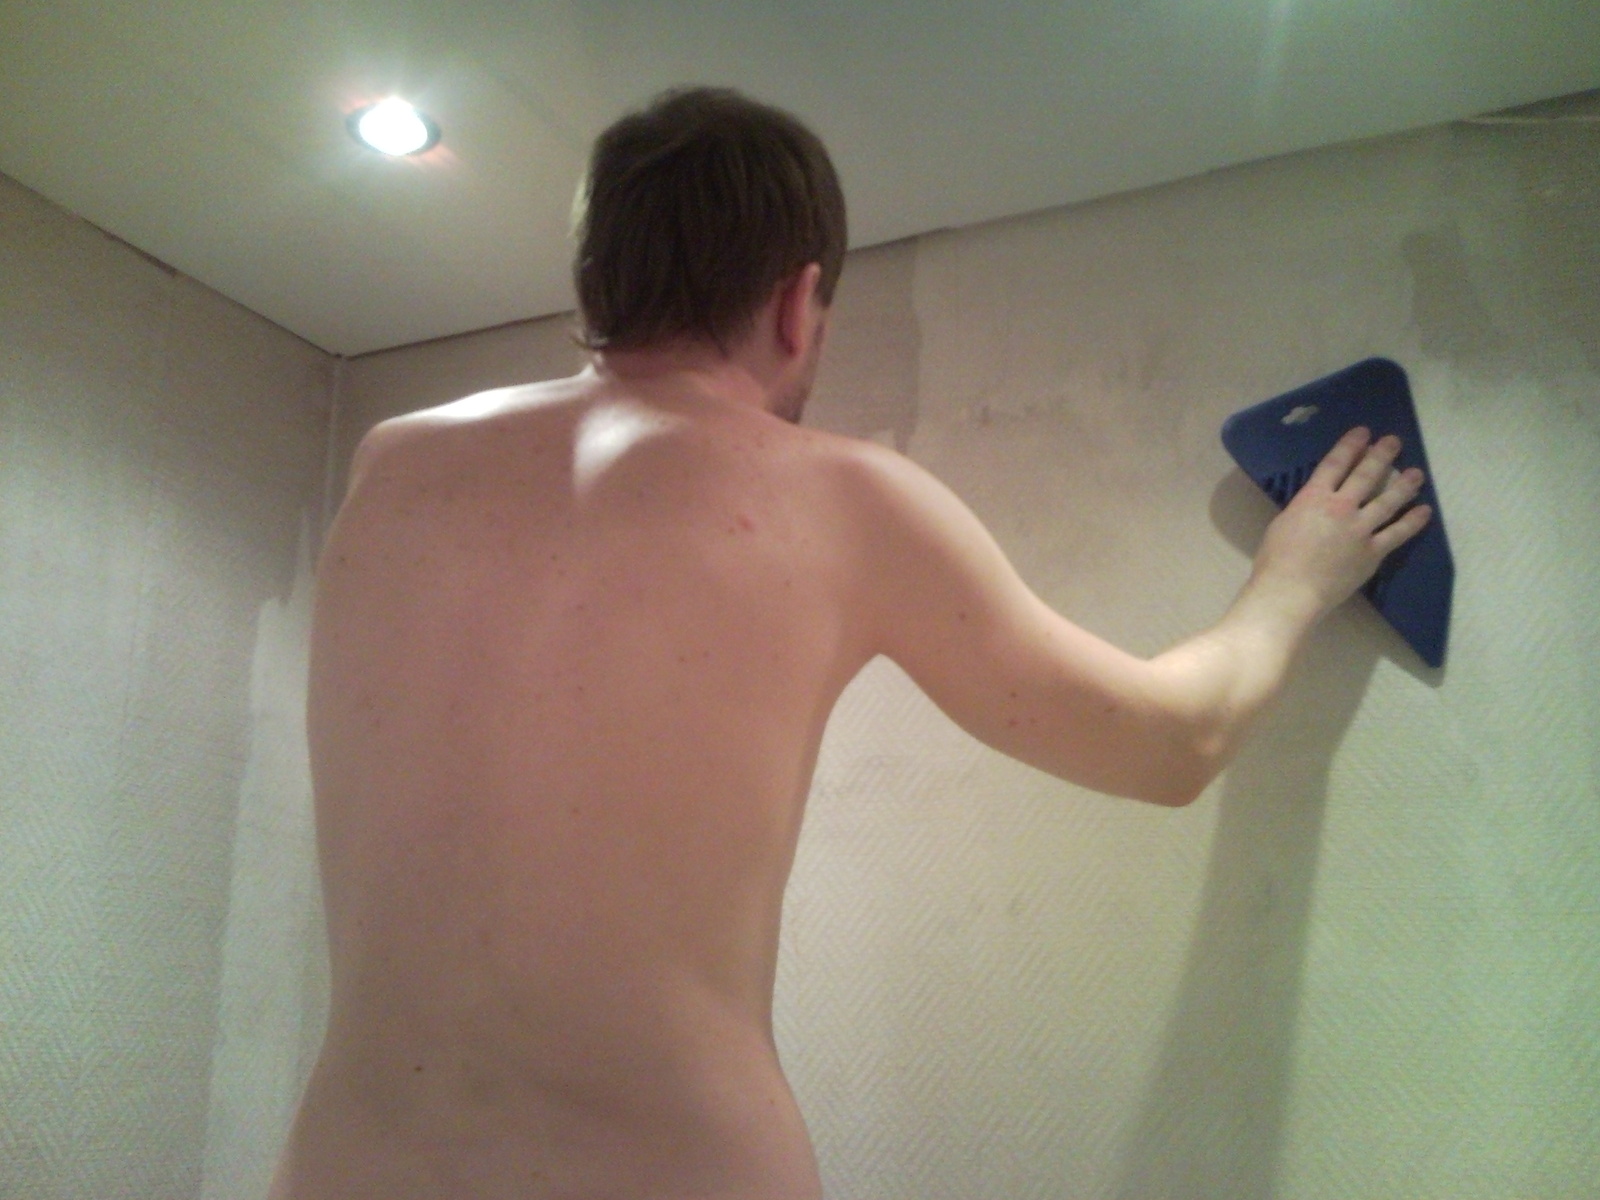
Stage four. Now priming the wallpaper in 1-2 layers. No pictures. We prime with the same primer, with the same thoroughness. Again we leave for a few hours, so that everything dries out.
Fifth stage. We paint the walls with special paint in 2-3 layers. Yes, yes, do not be surprised, we paint with paint. Modern dyeing technologies have gone far ahead. I used Tikkurila Euro 20. I did not paint, I used white. More about paint at the end of the post.